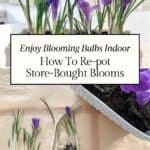
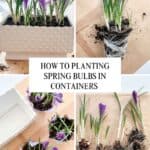
Re-Potting Spring Bulbs To Enjoy Indoors
Bring the beauty of spring indoors with blooming spring bulbs! Learn how to re-pot grocery store spring bulbs into your containers to create a lasting seasonal arrangement. Easy, creative, and perfect for brightening your home!
One of my favorite things to do this time of year is plant spring bulbs to enjoy indoors, no matter what the weather is like outside. There’s something magical about having these gifts of nature on a table, shelf or on my kitchen counter. It’s a simple joy that brings the promise of spring a little closer.
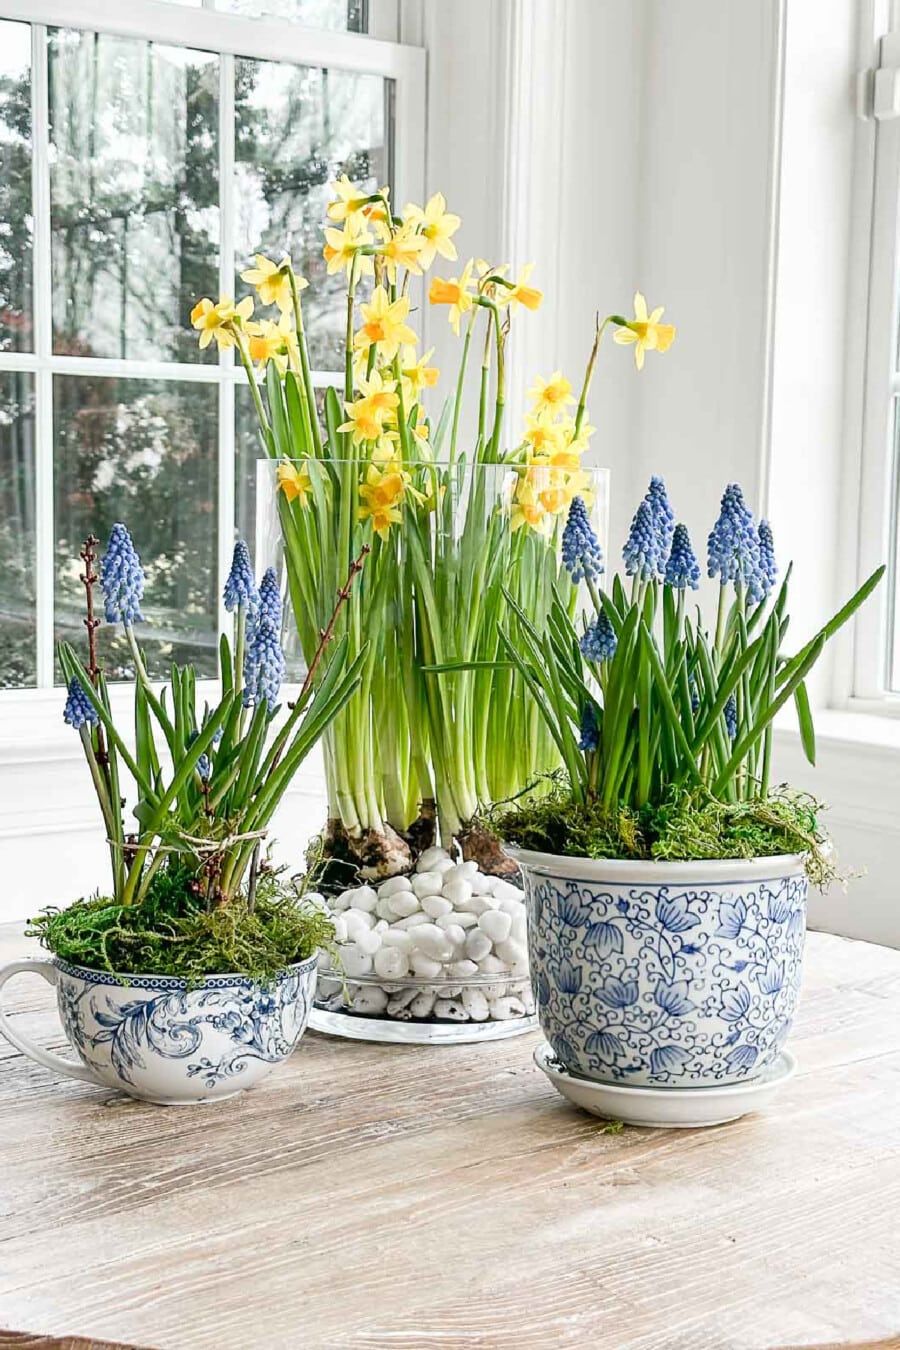
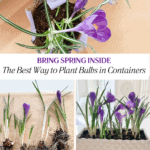
And the best part of planting these darling booms? You don’t need a green thumb to do it! Planting spring bulbs indoors is incredibly easy, and you can get creative with how you display them. Instead of traditional pots, try tucking crocus, daffodils, or hyacinths into vintage bowls, glass vases, or even an old soup tureen. These unexpected vessels make the bulbs feel even more special, adding charm and personality to your home.
So, let’s celebrate spring a little early! Planting spring bulbs that are already blooming indoors is a simple way to bring nature inside.
Which Bulbs Will Bloom Indoors
Almost any bulbs can be planted in pots, cups, urns, and containers inside if they are properly chilled. However, let’s skip waiting for bulbs to bloom and plant blooming spring bulbs, like the kind you find in the grocery store this time of year.
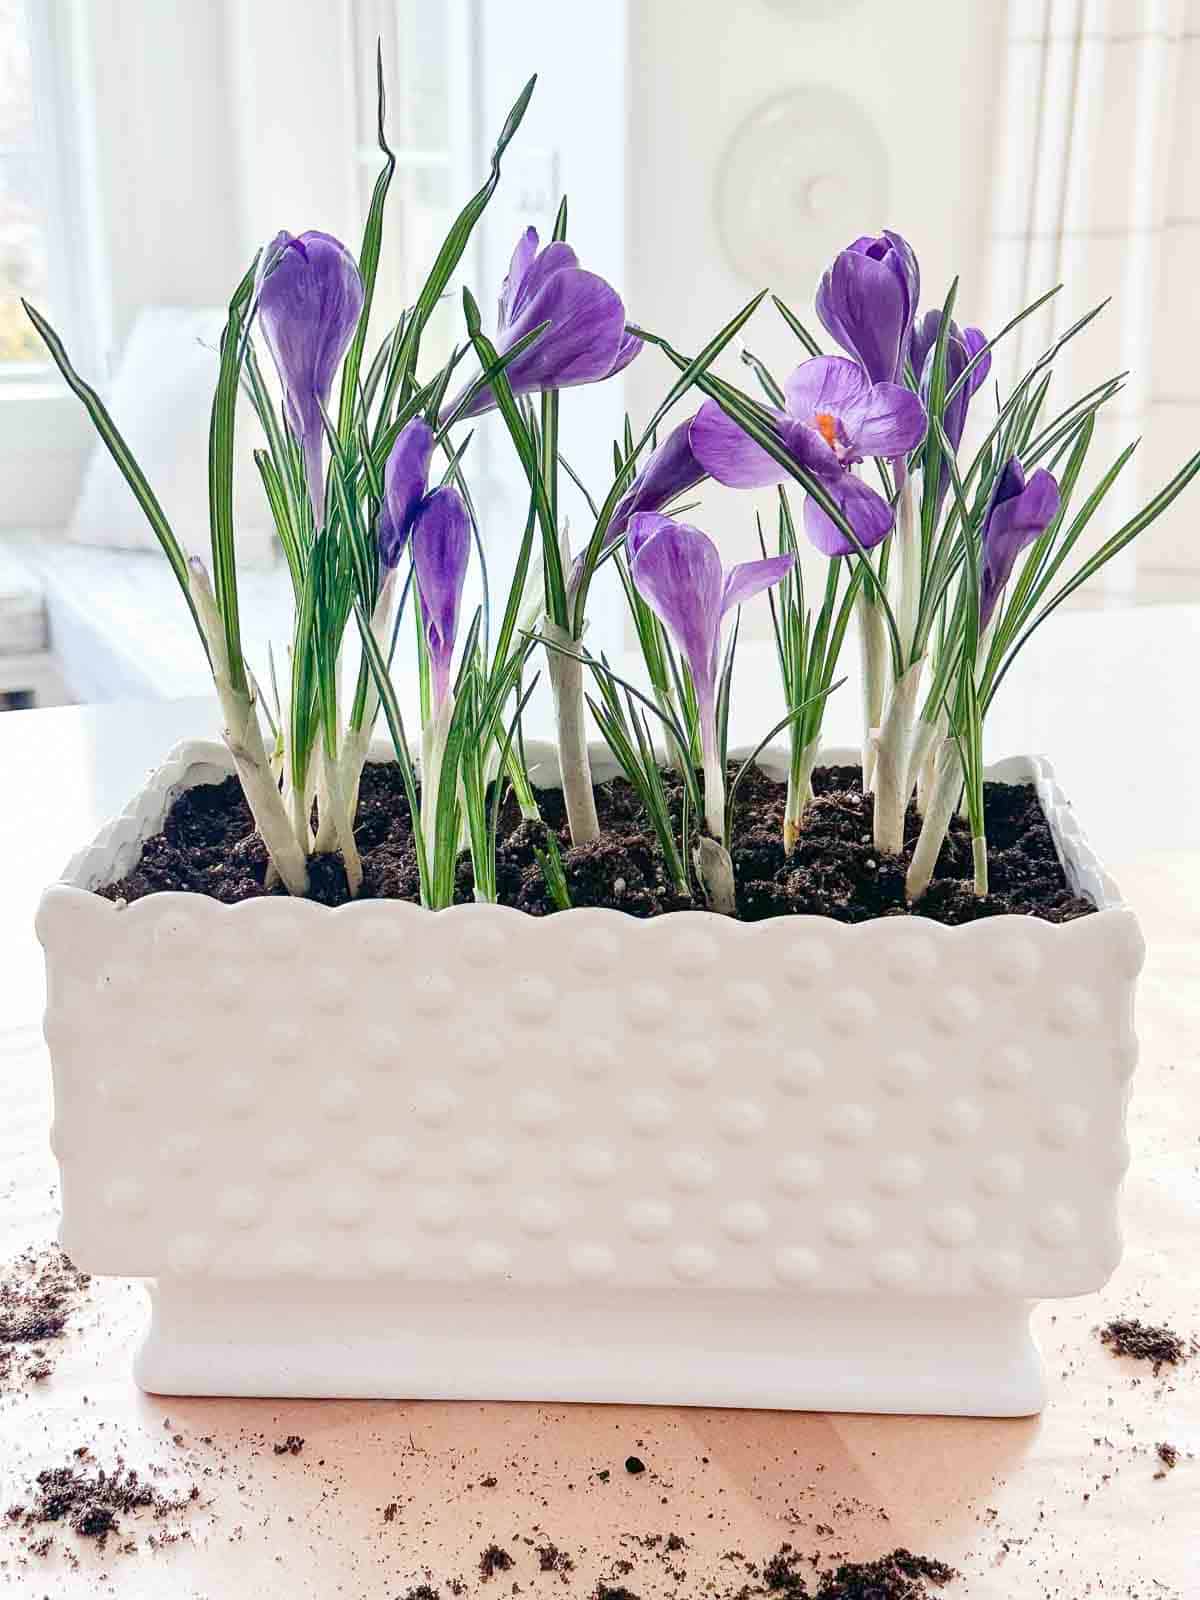
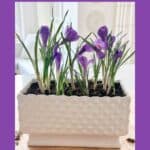
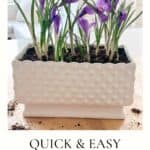
I was happily surprised to find these beautiful purple crocus in our local grocery store so early! I knew I had to take them home and put them in a pretty container to enjoy.
Why Replant Spring Booms
There are so many wonderful reasons to bring blooming spring bulbs into your home! As I’ve mentioned, they add beauty and a cheerful touch of spring, even when the world outside still feels a little gray. There’s something so uplifting about seeing fresh flowers blooming on your kitchen counter, coffee table, or bedside stand. It’s an instant mood booster.
But beyond their beauty, planting spring bulbs indoors is a hands-on, sensory experience that nurtures both your home and the soul. Digging in the soil and arranging delicate blooms is a simple yet rewarding act of self-care. It’s a small ritual that connects us to nature and brings a sense of renewal—just like spring itself.
Another great reason to plant bulbs indoors? They last longer than cut flowers! While a bouquet may fade in a few days, potted bulbs continue to bloom and thrive with just a little care. And when one flower finishes blooming, you can simply pull it up and replace it with another fresh bulb, keeping the cycle of beauty going all season long.
I always look forward to welcoming spring by darling organics gems to your home. They’re such an easy and joyful way to celebrate the changing season…one pretty bloom at a time.
What You Will Need
Here’s what you need to gather to plant your spring bulbs…
- Bag of potting soil
- Bag of gravel or stones
- Something to cover your work surface- I use newspaper or parchment paper so I can roll it up and throw it away
- Potted blooming spring bulbs.
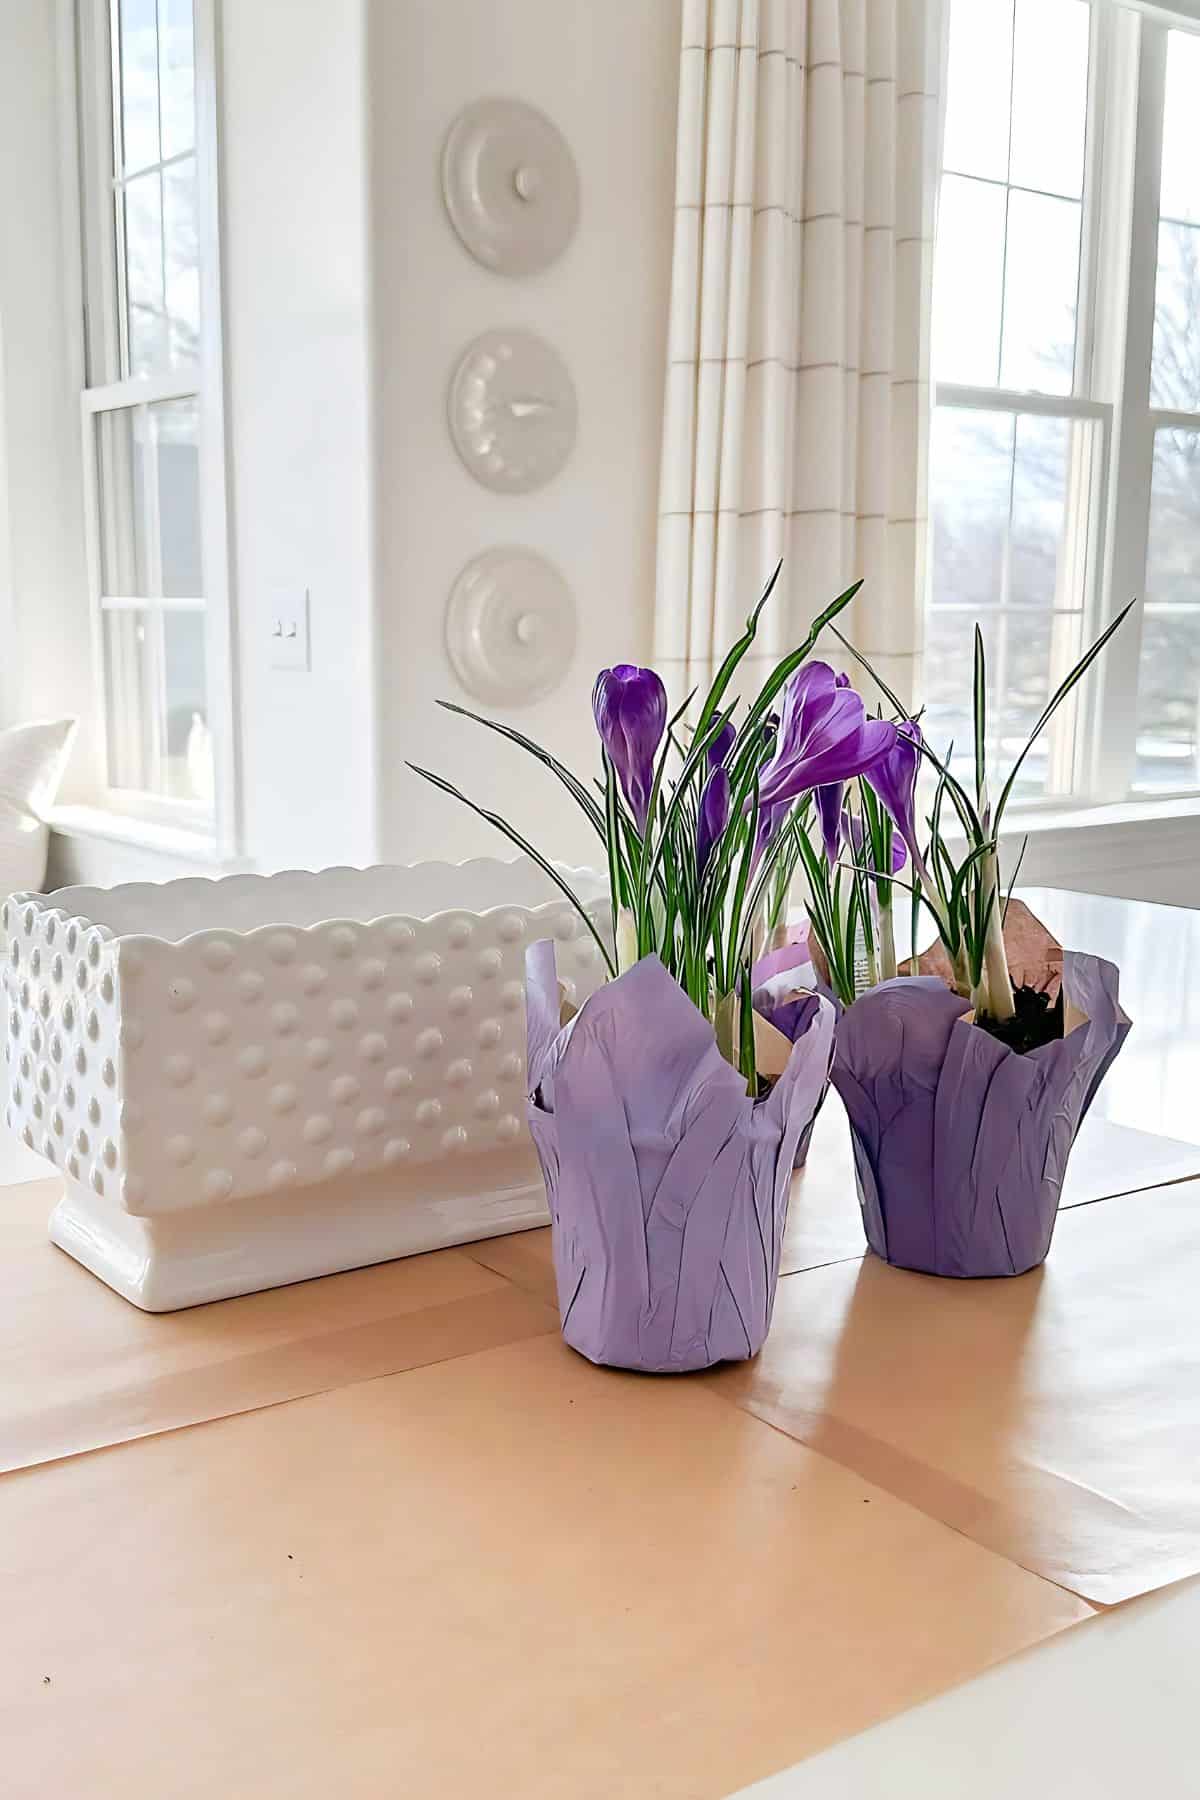
Prepare Your Container
One of the best parts of repotting spring bulbs is choosing a beautiful container to showcase them! No interesting vessel is safe from being filled with a little spring inspiration in my home. I love to use everything from vintage soup tureens and rustic urns to delicate teacups and woven baskets lined with plastic. The unexpected makes the display even more special!
Preparing The Container
Before planting, I always give my chosen container a good wash in hot, sudsy water and rinse it thoroughly. Bacteria is the enemy of delicate bulbs, and a clean start makes sure they stay fresh and healthy for as long as possible.
Adding Gravel
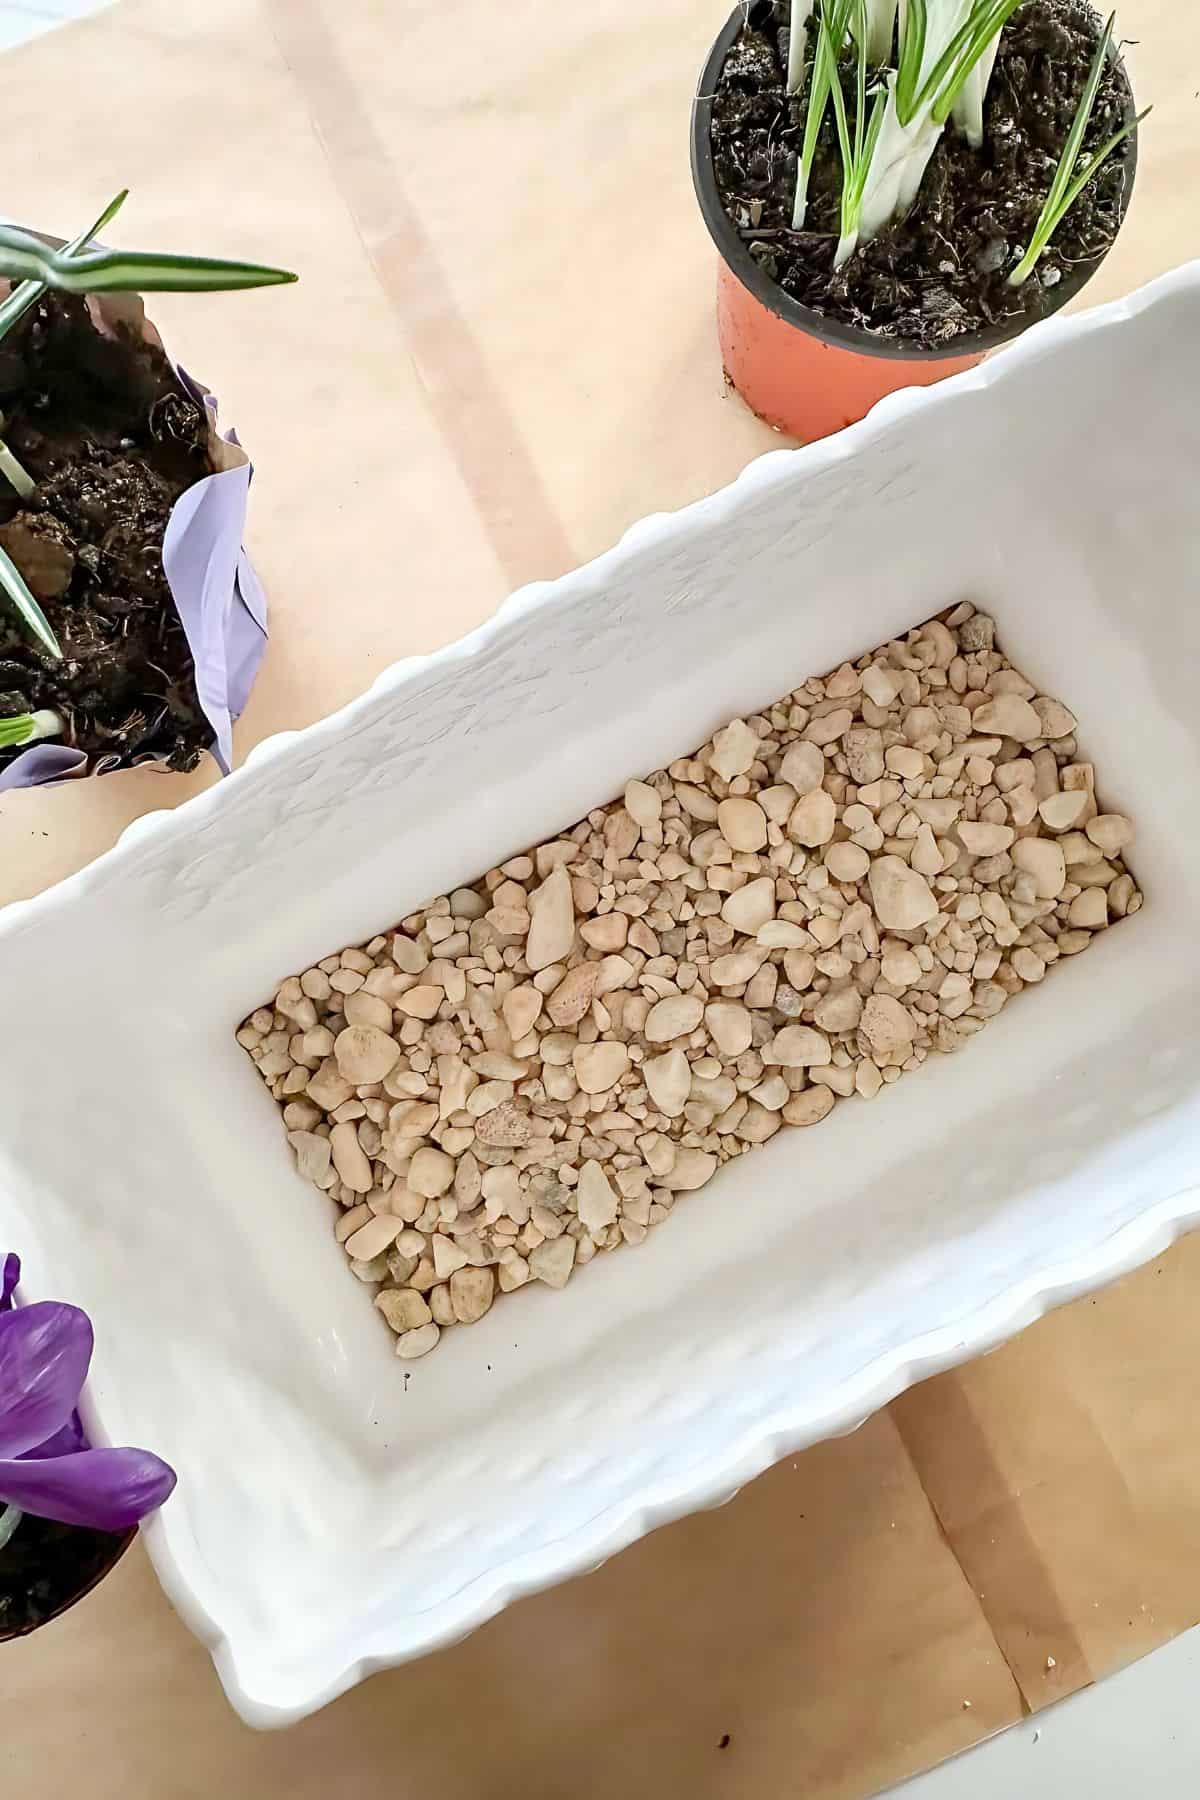
Since many of my favorite containers don’t have drainage holes, I add a layer of gravel, pebbles, or small stones to the bottom. This helps create a drainage buffer, preventing the bulbs from sitting in excess moisture. If you’re using a vessel that might be affected by water, like a basket or wooden box, consider placing a small plastic liner inside to protect it while still achieving that charming, collected look.
Adding A Base Layer Of Potting Soil
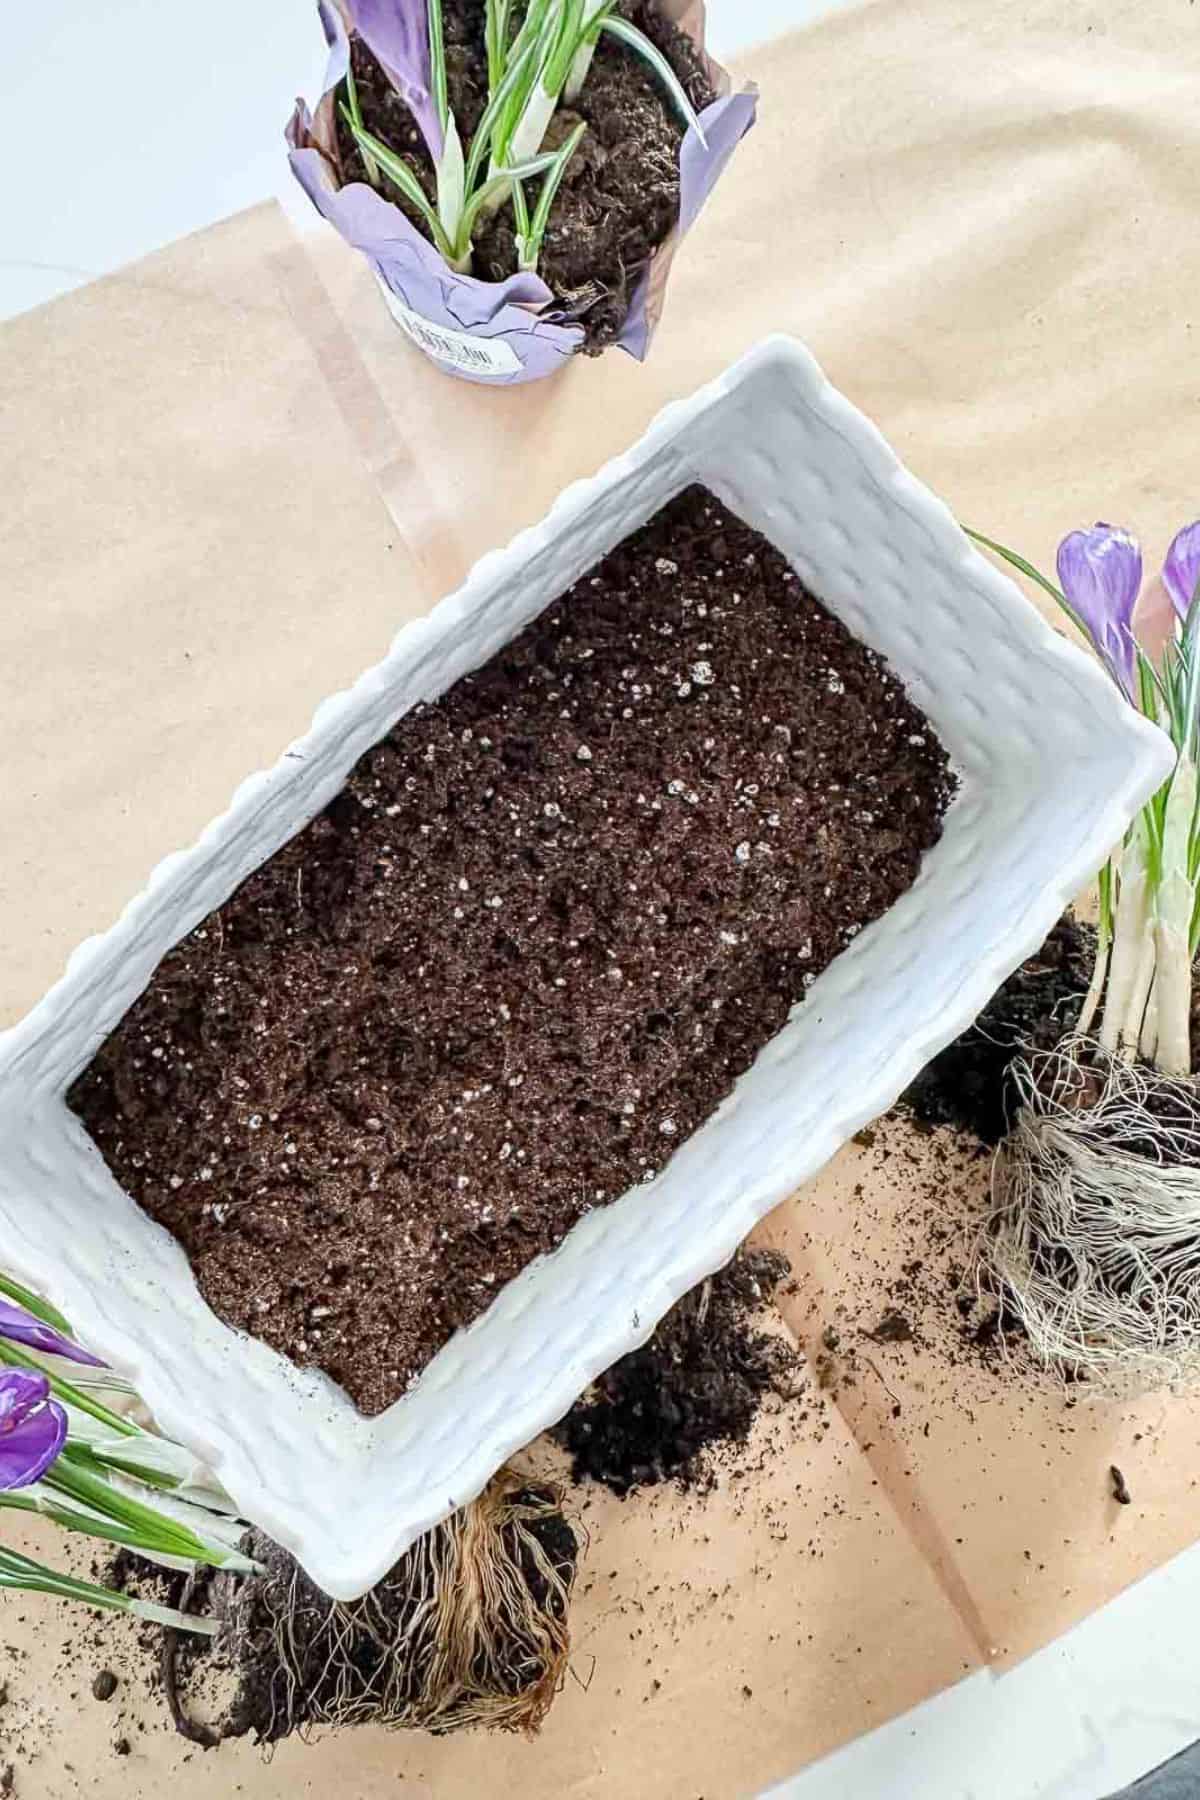
Once your container is prepped with a layer of gravel for drainage, it’s time to add the foundation for your bulb’s roots.
Scoop in a layer of fresh potting soil, spreading it evenly over the gravel. This base layer will give the bulbs a soft, nutrient-rich surface to rest on while helping anchor them in place. Aim for about an inch or two of soil, depending on the depth of your container. You want enough to cushion the roots but still leave room for the bulbs to sit at the right height.
Now, you’re ready to take your plants out of their original containers position your bulbs and create a beautiful, natural-looking arrangement!
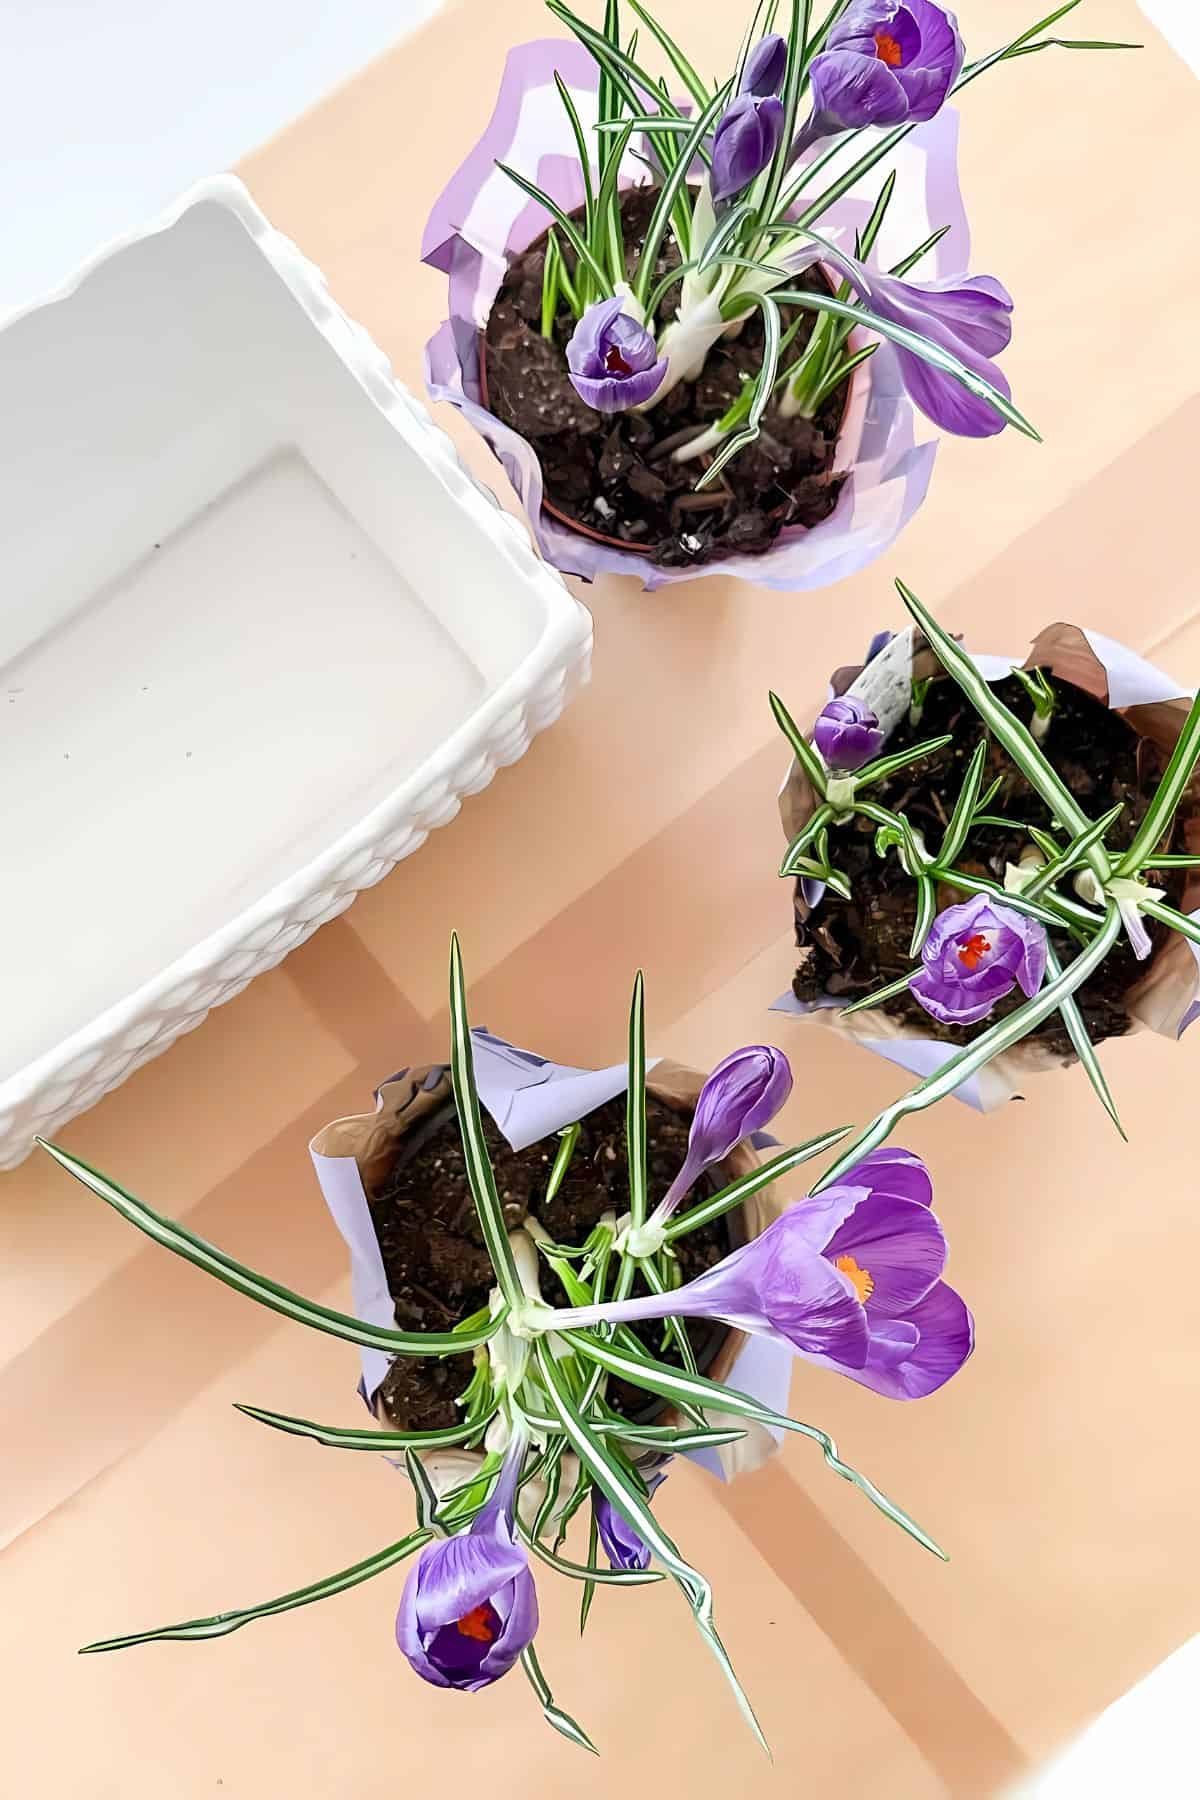
Remove The Plants From Their Pots
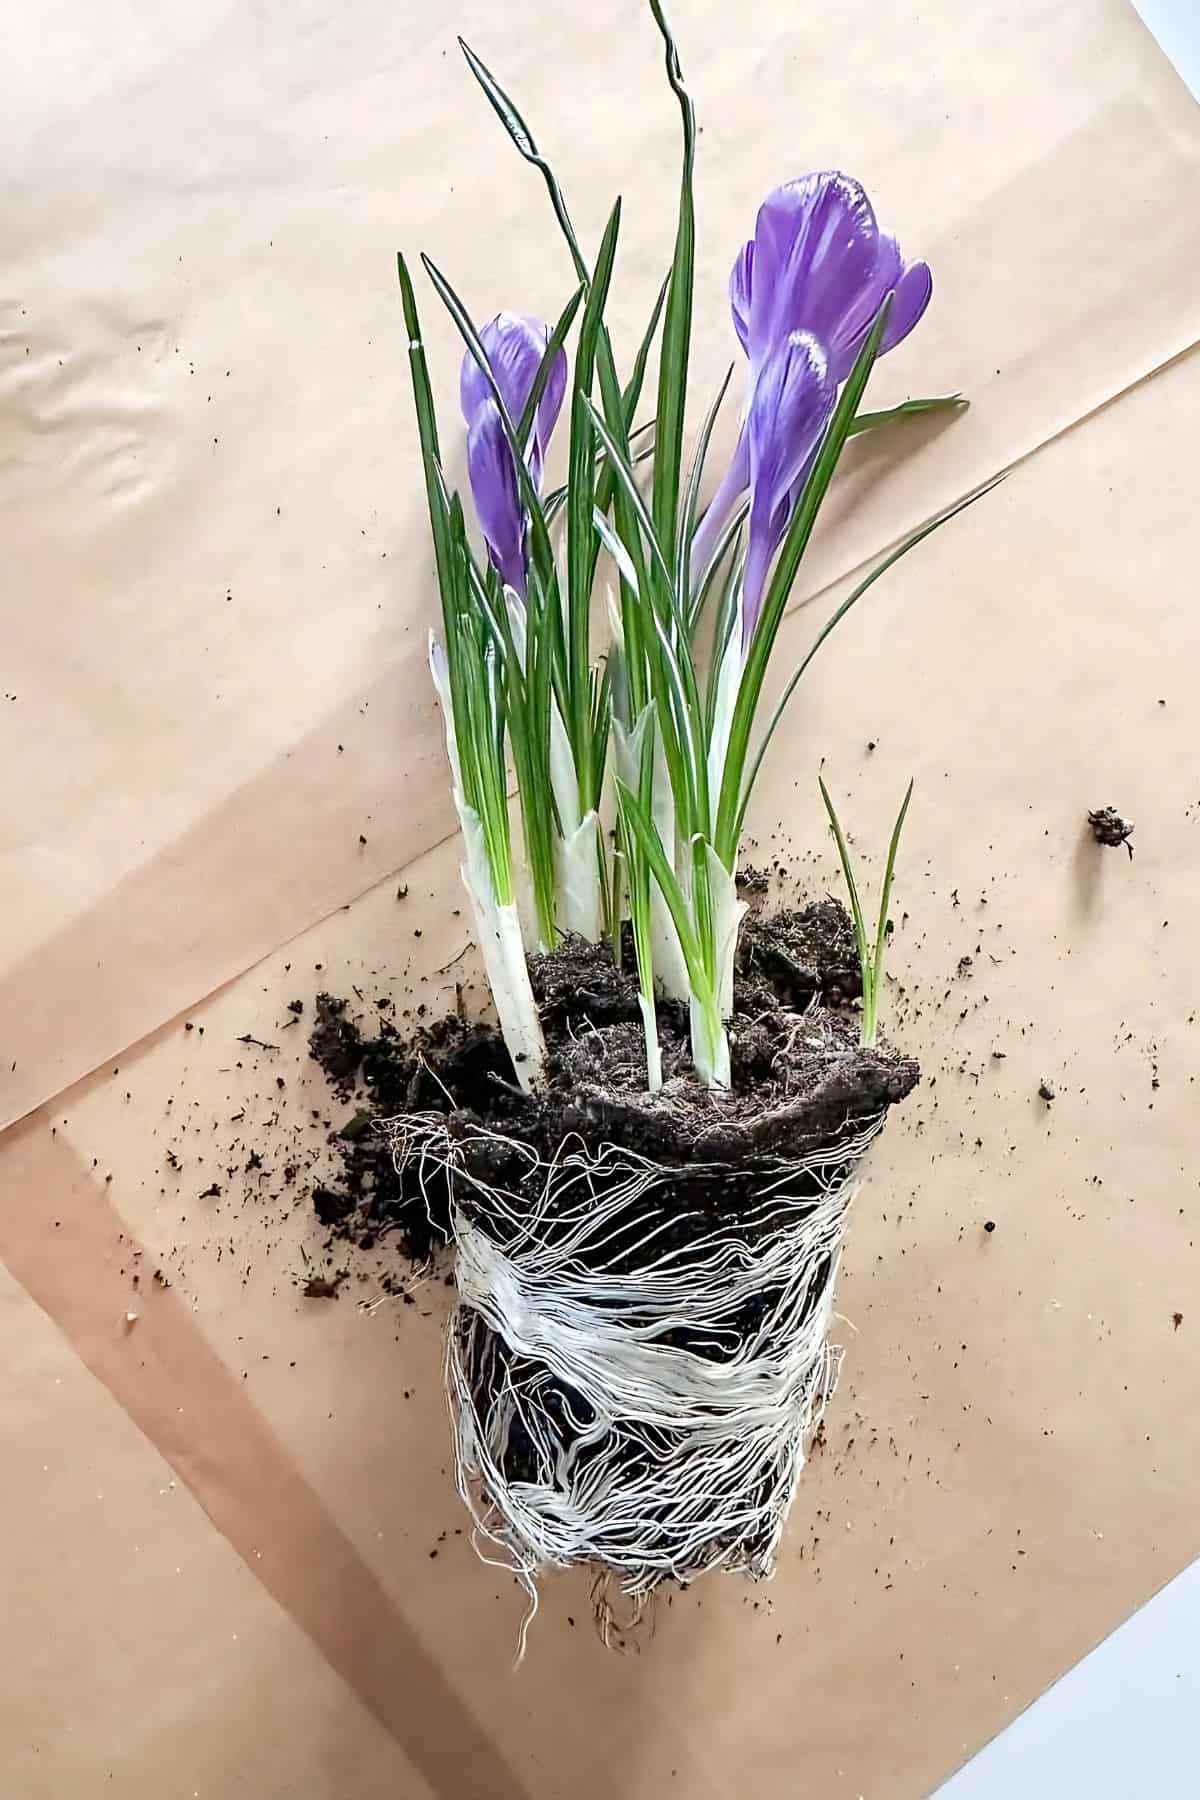
Getting your blooming bulbs out of their plastic nursery pots is easy with the right technique. A gentle touch goes a long way in keeping the plant and its delicate roots intact.
If you notice any roots poking through the drainage holes, start by gently massaging them to loosen them from the pot. This helps prevent breakage and makes removal much smoother.
Next, hold the pot and give it a gentle squeeze on all sides to loosen the soil. Then, turn the pot on its side and carefully slide the plant out, supporting the base as you do. If it doesn’t come out right away, a few more squeezes should remove it. Just be patient and let gravity help!
So easy! With the plant free from its original pot, you’re ready to give it a beautiful new home.
Individual Blooming Bulbs

To create a lush, full-looking arrangement, you might want to separate the bulbs in the pot before planting. This allows you to arrange them more naturally and fill in any gaps, making your newly potted plant look effortlessly beautiful.
Start by removing the plant from its container, just as before. Gently massage the roots to loosen the soil, then carefully pull the individual bulbs apart. Don’t worry if a few roots break, these little bulbs are surprisingly resilient! I like to do this step over my bag of potting soil to keep things neat and make cleanup a breeze.
Now comes the fun part. Arranging the bulbs in their new home! Tuck them into the soil wherever they’re needed, filling out the container for a full and balanced look. Nestling them closely together creates a more natural, garden-like feel, and it’s always fun to experiment with placement before adding soil around them.
Position The Plants
Almost any spring bulbs can be planted in pots, cups, urns, and containers indoors if they’ve been properly chilled. But let’s skip the waiting game and go straight to the fun part! This time of year, grocery stores and garden centers are filled with blooming spring bulbs just waiting to brighten up your home.
Now comes the fun part—arranging your blooming bulbs! Place each plant in your container and adjust them until you’re happy with the overall look.
Consider varying the heights and angles to create a natural, garden-like feel. Nestling the bulbs close together will make the arrangement look lush and full while leaving a little space between them, which gives a more structured appearance. If you’re using a mix of flowers, position the tallest ones toward the back or center and shorter ones toward the edges for a balanced look.
Take a step back and make any final tweaks before moving on. This is your chance to perfect the placement before adding more soil to secure them in place.
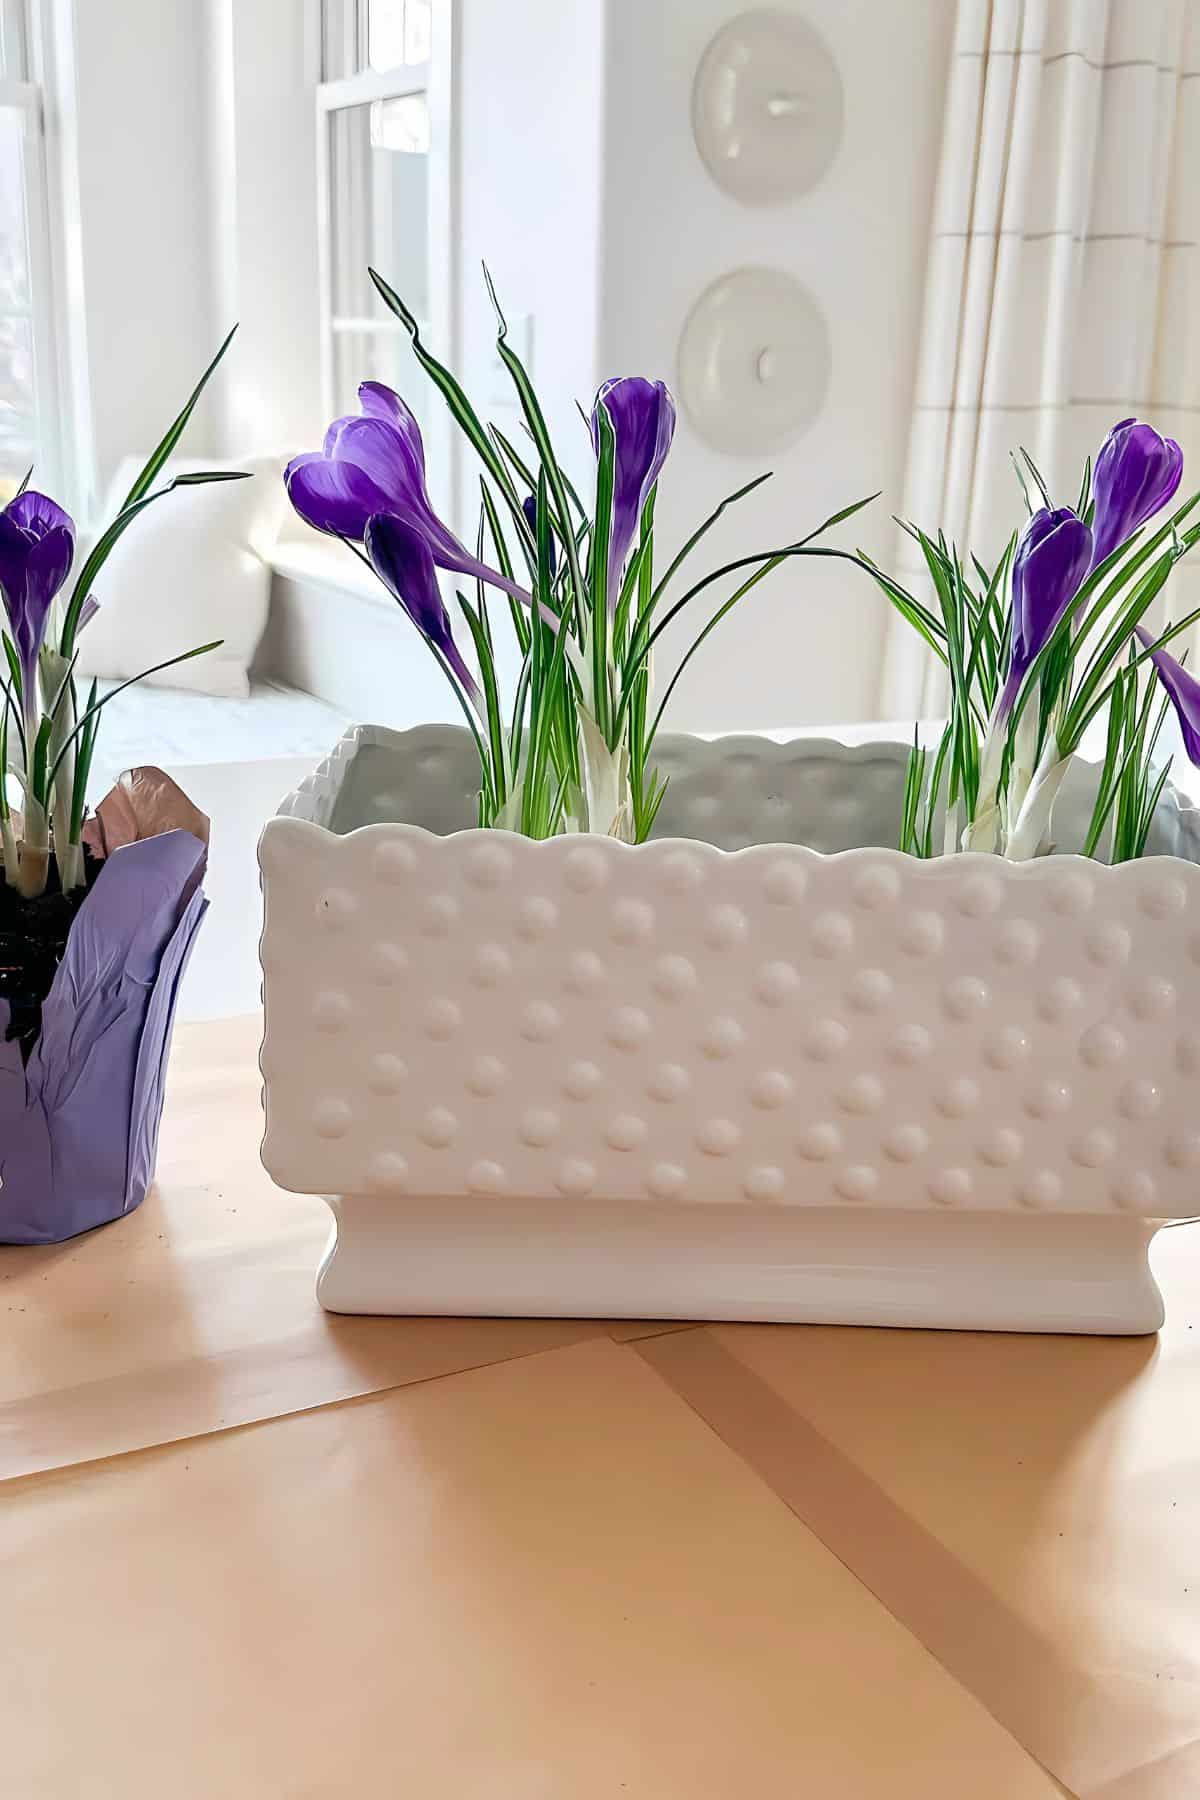
Fill In With Soil
Once your plants are perfectly positioned, it’s time to secure them in place with soil.
Gently scoop fresh potting soil around the bulbs, filling in any gaps while making sure not to pack it too tightly. The goal is to provide enough support for the plants while still allowing water to drain easily. As you add soil, lightly press around the base of each plant to eliminate air pockets and help stabilize them.
Leave a little space at the top of the container to prevent soil from spilling over when watering.
Other Options
Here are some creative and practical ways to plant blooming bulbs indoors and make them look even more beautiful:
- Add a layer of moss – Top the soil with fresh or preserved moss for a designer touch and a polished, organic look.
- Nestle bulbs in decorative gravel – Cover the soil with small pebbles or decorative gravel for a clean and modern finish.
- Use unexpected containers – Try planting bulbs in teacups, soup tureens, vintage tins, or soup tureens.
- Mix different types of bulbs – Combine daffodils, hyacinths, tulips, and other bulbs in one pot for a lush, layered effect with varied heights and colors.
- Place the container in a decorative basket – Line a woven basket with plastic and plant blooms inside it.
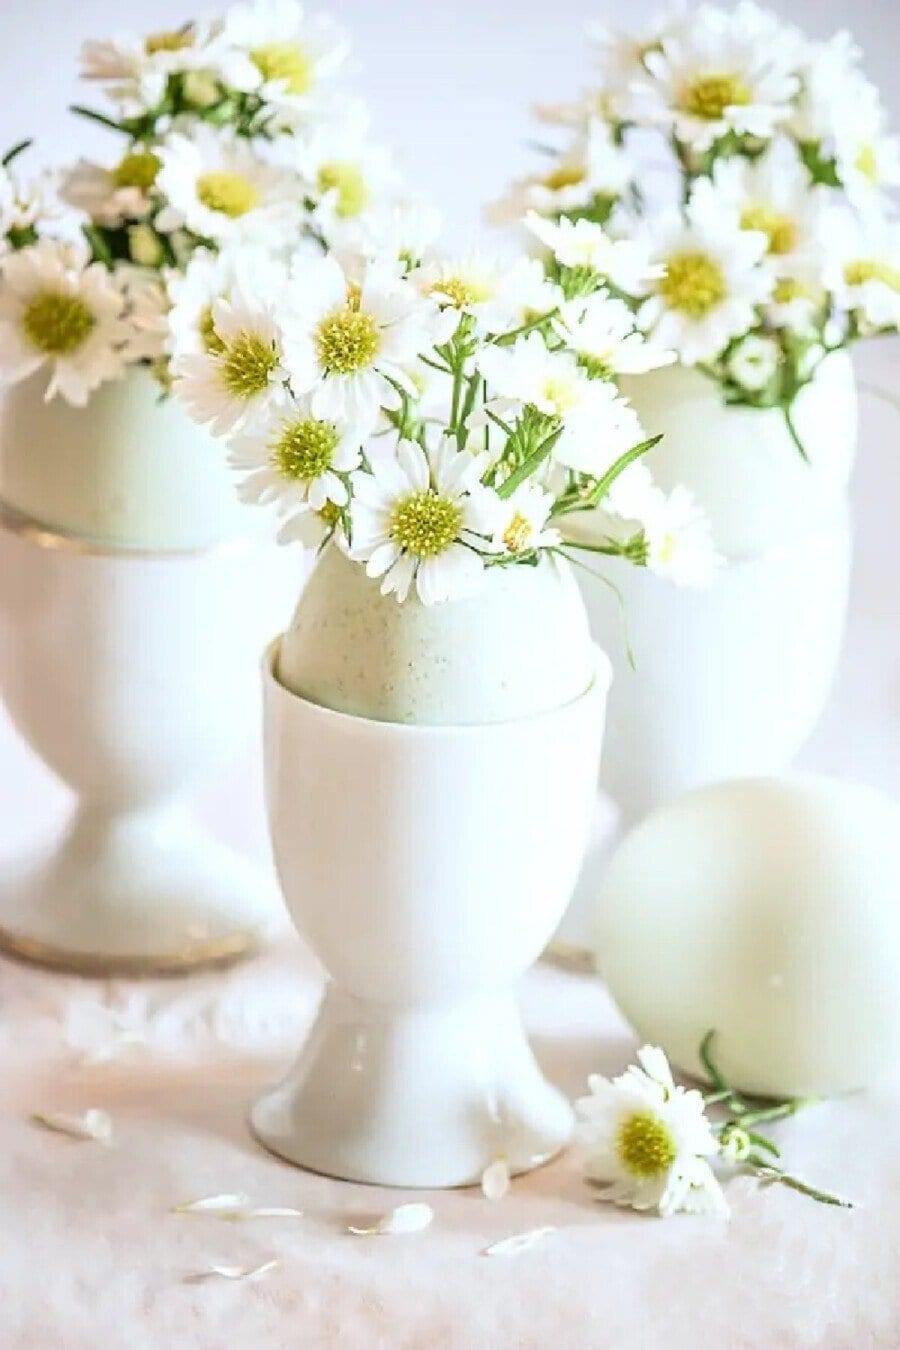
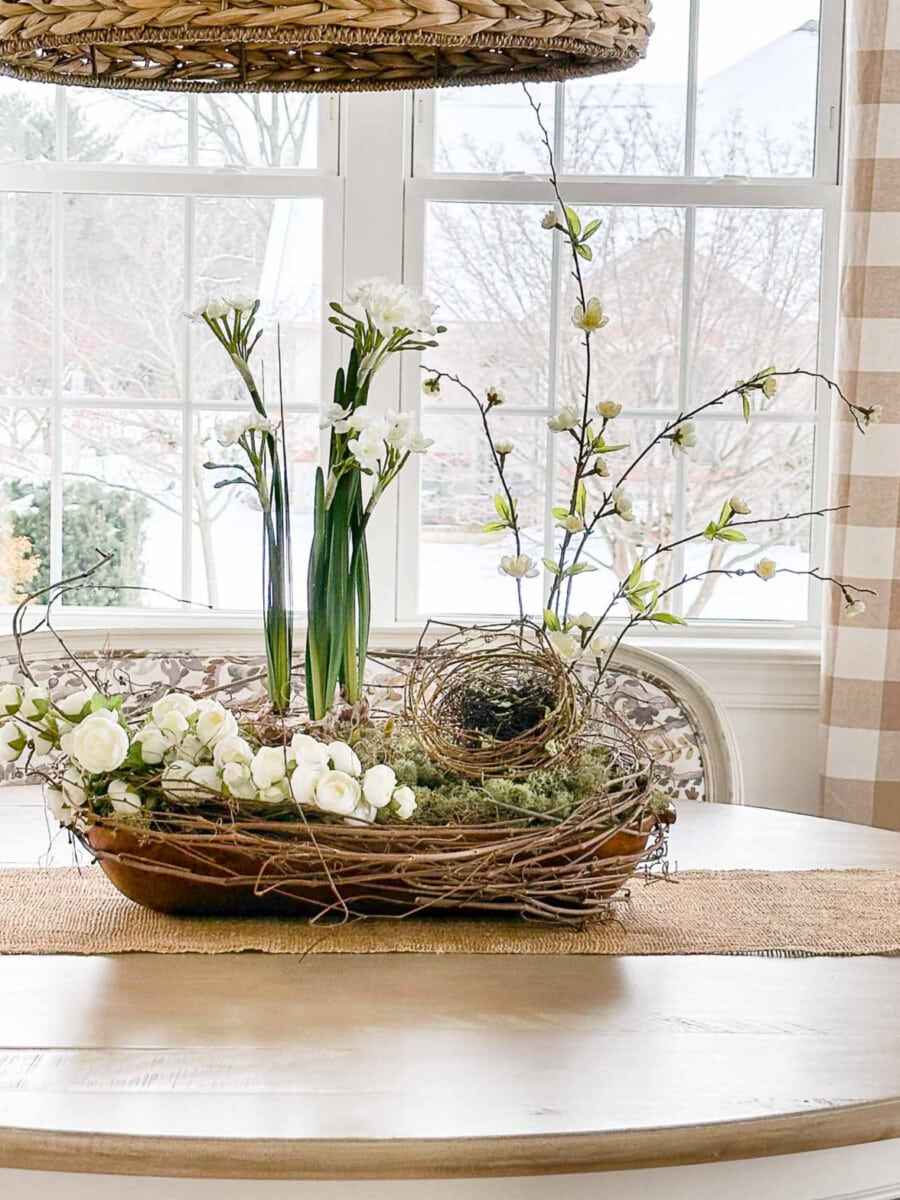
- Choose a monochromatic color scheme – Stick with all-white flowers for an elegant look or opt for bright colors to add a cheerful feel.
- Use a glass container – Plant bulbs in a clear vase with layers of pebbles and soil to showcase their roots for a natural, botanical display.
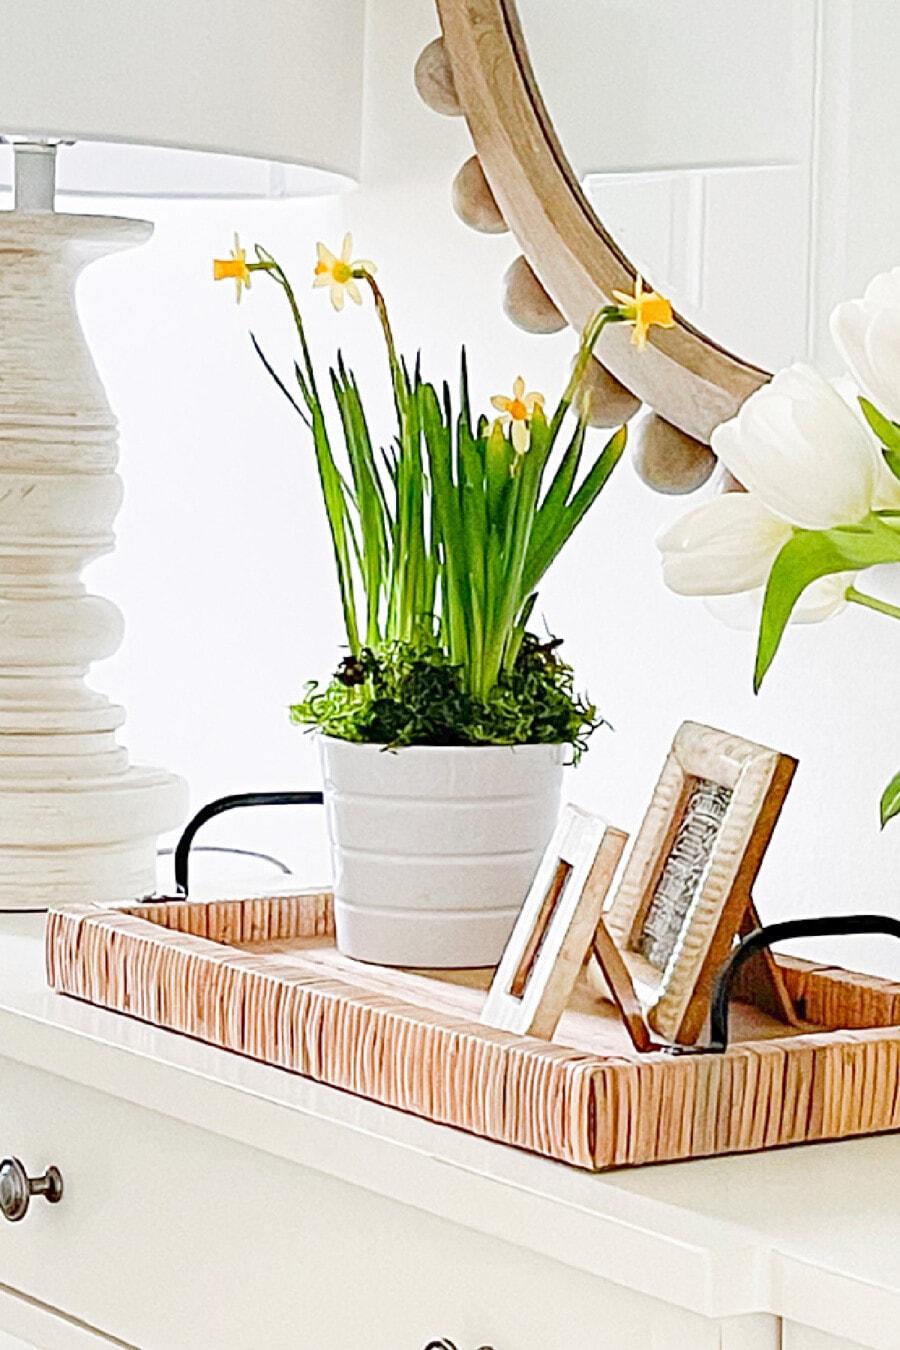
- Keep it minimalist – For a modern look, plant a single blooming bulb in a sleek white pot and let it stand alone as a statement piece.
- Incorporate fresh greenery – Plant ferns or ivy around the base of the bulbs to add texture and fullness.
- Use a shallow bowl for a compact arrangement – Position several small bulbs in a wide, shallow dish for a low-profile yet full look.
- Group multiple containers together – Instead of one large pot, arrange several small pots with different bulbs for a collected and curated feel.

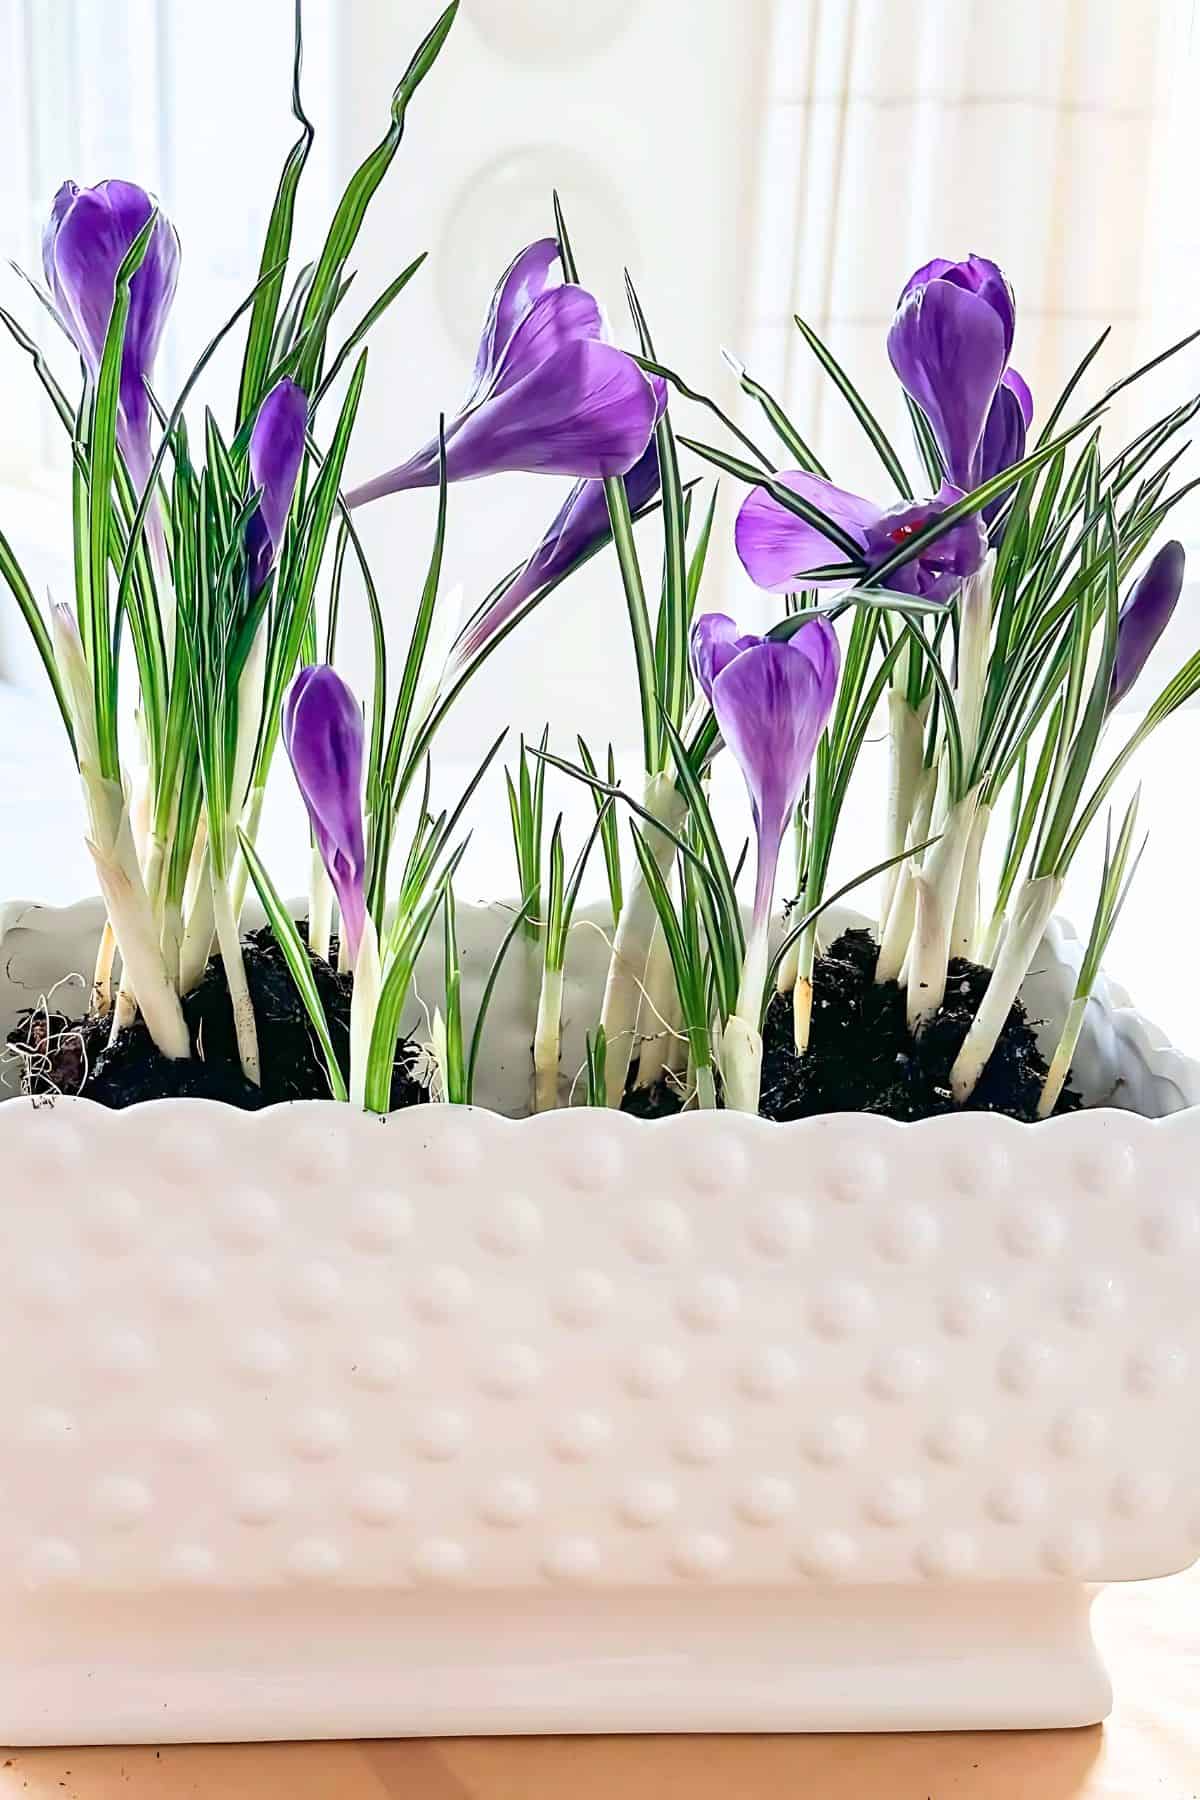
Bringing blooming spring bulbs into your home is such a simple and beautiful way to celebrate the season. With just a little creativity and a pretty container, you can transform grocery store blooming bulbs into the sweetest spring centerpiece!
These little bursts of spring are a way to celebrate the season. And the best part? When one bloom fades, you can easily swap in another to keep the beauty going all season long.
Get your hands a little dirty, have fun with your containers, and enjoy the wonder of spring blooming indoors!
Frequently Asked Questions About Planting Blooming Bulbs
Place your potted bulbs in a spot with bright, indirect sunlight. Keep the soil consistently moist but not waterlogged; overwatering can lead to rot. As the flowers fade, remove spent blooms and plant another one.
Many forced bulbs, like tulips and hyacinths, may not rebloom indoors. You can try planting them in your garden after the last frost. With some patience, they might surprise you with blooms again.
Bulbs like daffodils, hyacinths, crocuses, and tulips are excellent choices for indoor displays. They offer vibrant colors and lovely fragrances that can brighten up any room. Just pick your favorites and enjoy the burst of spring indoors!
Other Spring Posts To Enjoy
These posts are rich with spring ideas and inspiration…
12 Simple Nature-Inspired Ideas You Will Love For Your Home
How To Style A Charming Spring Dough Bowl
The Ultimate Spring Decorating Guide: 100 Beautiful Spring Ideas To Inspire You

Happy Spring planting, friends!

Yvonne,
Thanks for reminding me to get some spring blooming plants at the grocery store where I shop
I have a beautiful white vintage soup tureen which will be lovely filled with a mixture of spring bulbs. Just what I need to brighten a cold rainy day here in N.C.
A soup tureen is perfect to re-pot blooming bulbs.
Oh my! I absolutely loved this post! I’ve seen these at places and I never knew how to plant them.
Thank you so much and I have learned a new hobby to do. Bless you Yvonne! 🙂
You will love this Libby! Happy Spring.
Yvonne, I just loved reading your post today! You have really got me interested in planting some spring bulbs. I have so many pretty containers that would look so nice with these gorgeous flowers. This is such a great idea! Thanks for a wonderful read and instructions! You always bring us such wonderful ideas to beautify our home. Bless you, Yvonne, for being so special!
You are so welcome. I’m looking for little tete-a tete daffodils now! Enjoy my sweet, friend from afar.
Where did the white rectangular planter come from? I love it!🩷
Hi Candi, it came from Target, but if you don’t get them as soon as they show up on their site, they are often out of stock. Unfortunately, that is the fate of this pretty planter. So sorry!
This is such a pretty planter, Candi! Here you go:https://amzn.to/413mqos