Simple Spring Pussy Willow Wreath Diy
This simple spring wreath is easy to make and perfect for welcoming spring! Learn how to create your own beautiful, designer-quality wreath using pussy willow branches and natural elements in this easy spring wreath DIY.
This post may contain affiliate links. See my disclosure statement for details.
One thing I love about spring is how nature comes back to life. It peeks its head through the brambles and moss and twigs of unkempt landscapes and creates new spring beauty. How many of us wait for the first robin, the daffodils, the pussy willow and other signs of early spring?
Today’s wreath combines these early spring elements into a beautiful spring decoration for our front doors. Even if you are not crafty, you can make this simple spring wreath.
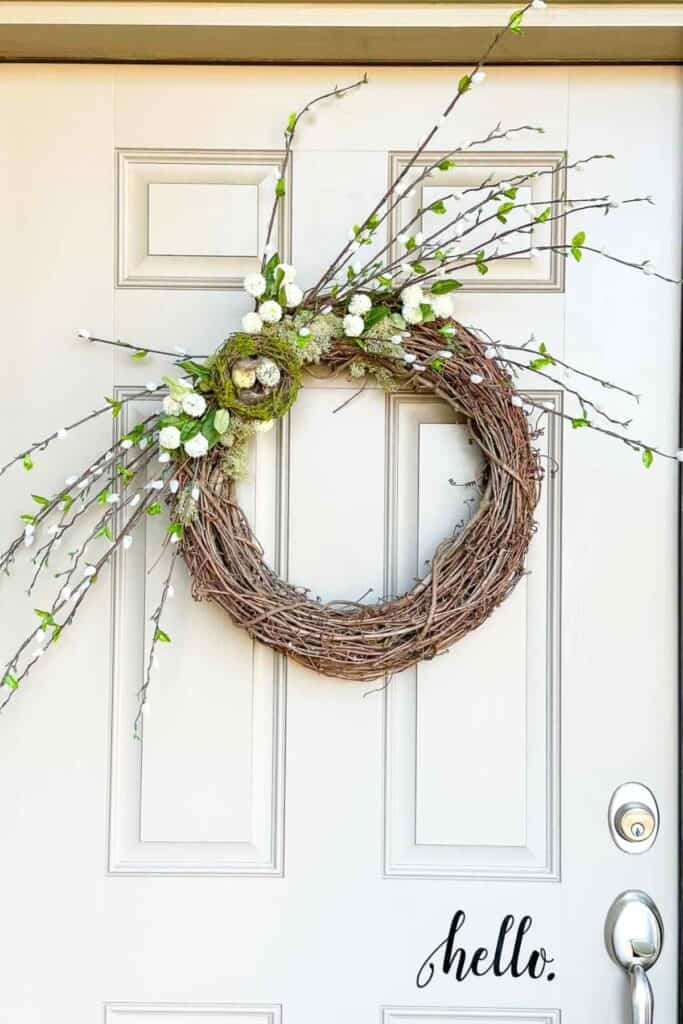
I think this wreath is so beautifully simple! No bows or frills, just simple organic elements! Perfect for a spring wreath! Let’s make it!
Why Make A Spring Wreath

Making a wreath is one of the most rewarding spring decorating projects I do each year! It allows me to welcome the new season with something beautiful and personal for my front door. A wreath doesn’t just hint at spring; it celebrates it, offering a warm welcome to everyone who visits.
Handcrafting a wreath lets me create designer-quality decor without the designer price tag. Over the years, I’ve studied the details that make designer wreaths stand out, and I discovered these techniques are surprisingly easy to replicate. With just a few simple tips, you can transform an ordinary wreath into something uniquely beautiful—and I’ll show you exactly how!
Materials
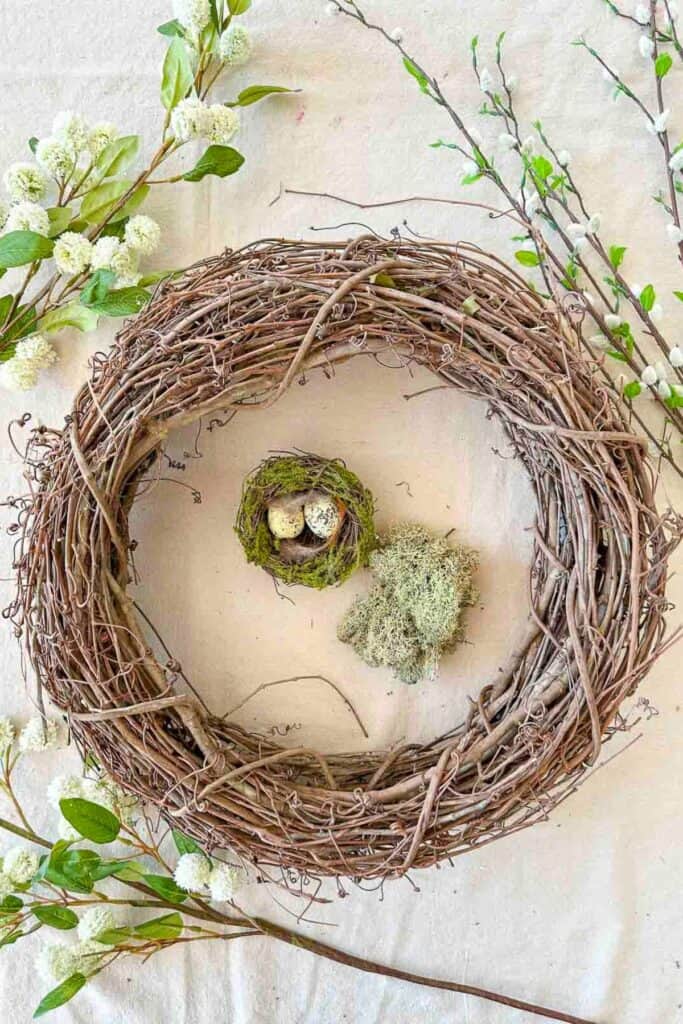
Here are the things you will need to make this wreath…
- 2 grapevine wreaths
- green florist wire
- pussy willow stems
- white or green floral stems
- moss, optional
- small nest with eggs
Helpful Equipment To Have On Hand
- scissors
- wire cutters
- hot glue gun and hot glue
How To Make A Simple Spring Pussy Willow Wreath
This is the simplest of all the wreaths I have made. Here’s how easy it is to create…
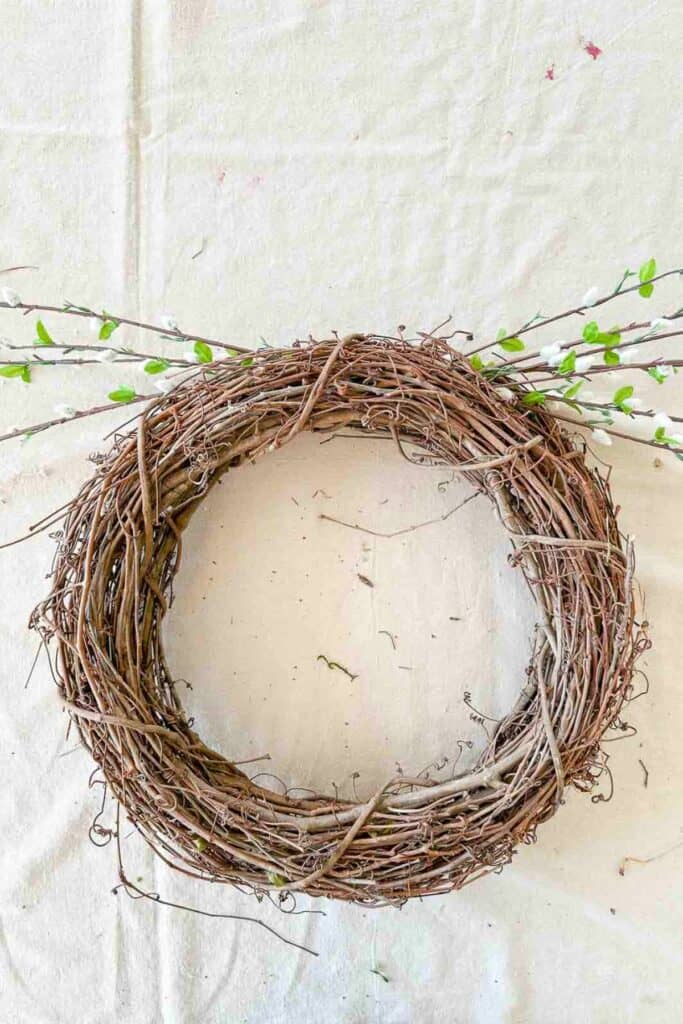
Wire Two Wreaths Together
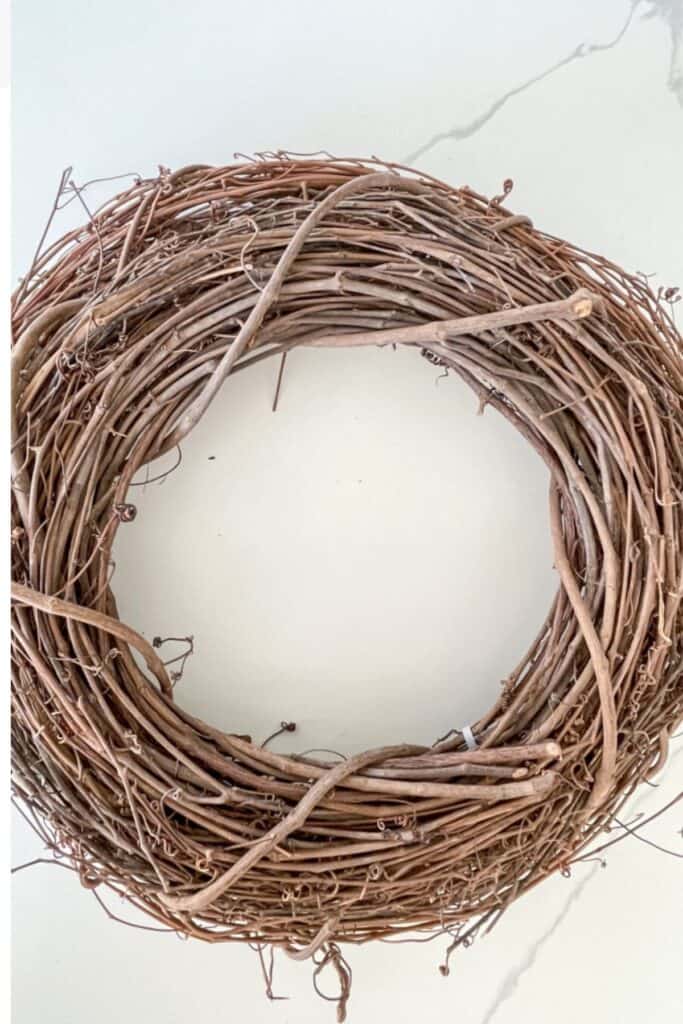
One of my favorite tips for making a wreath look designer-quality is to start with a sturdy, dimensional base. Layering two grapevine wreaths together is a game-changer because it instantly adds depth and visual interest. Using two wreaths stacked gives your finished wreath more presence, making it stand out beautifully on your door.
I secure my grapevine wreaths easily with green florist wire placed at the 2:00, 6:00, and 10:00 positions (think of your wreath like the face of a clock). You can also use zip ties. Just make sure there is no room for them to move around.
Doing this one thing will make your wreath look more designer-like.
Adding Pussy Willow To The Wreath
You can create this pretty, simple spring wreath in just a few steps!
Adding Pussy Willow Branches To The Wreath
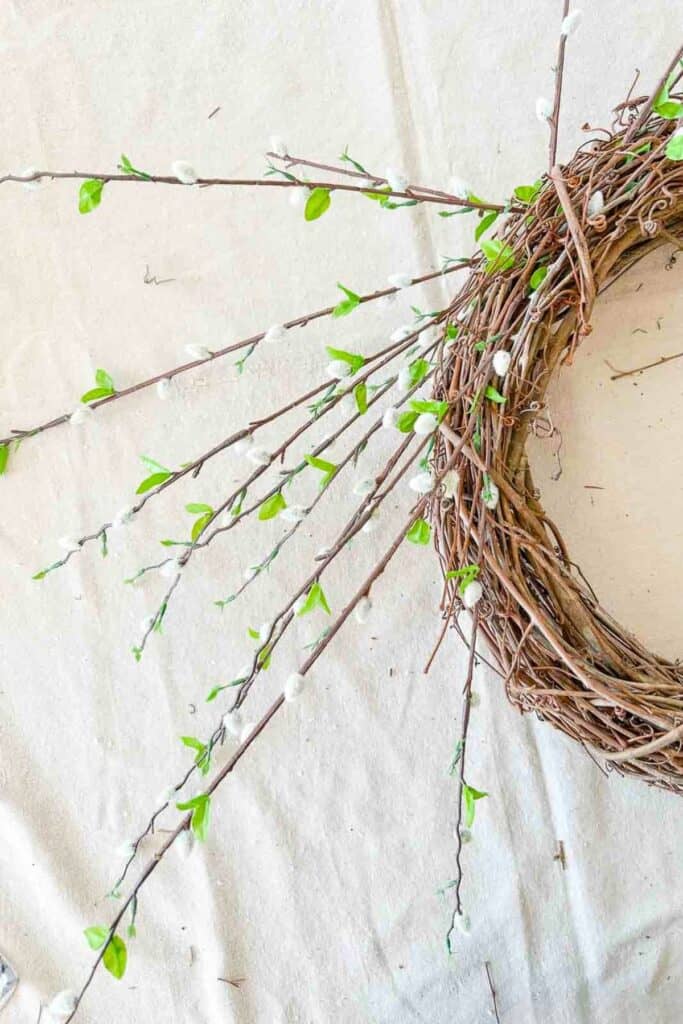
The Pussy Willow branches will grow out of a central part of the wreath. Some are going to the left and some to the right. Start by cutting the spray of pussy willow apart into stems of two or three.
Then, stick the ends of the stem deep into the wreath, arranging some so they are placed further back on the wreath and some more forward.
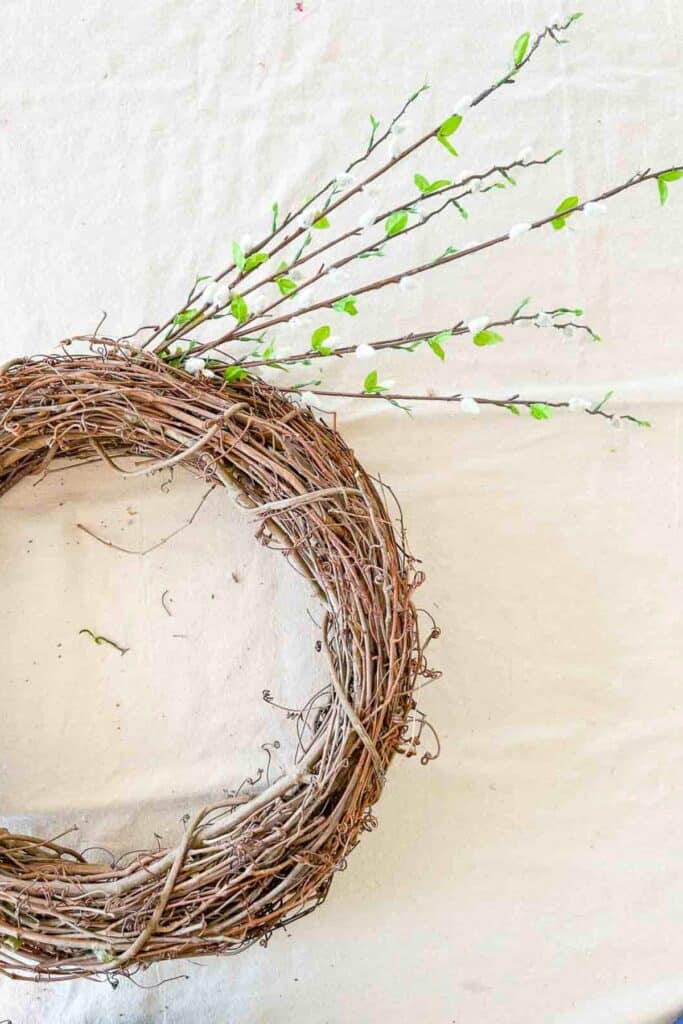
Do the same on the left side of the wreath.
Add more pussy willow branches to fill in. Remember that real pussy will branches are very straight and come out of the ground in individual shoots. Try to make the wreath as realistic as possible.
Adding Other Spring Elements
I chose a globe-shaped white bloom to add texture and depth to the spring wreath.
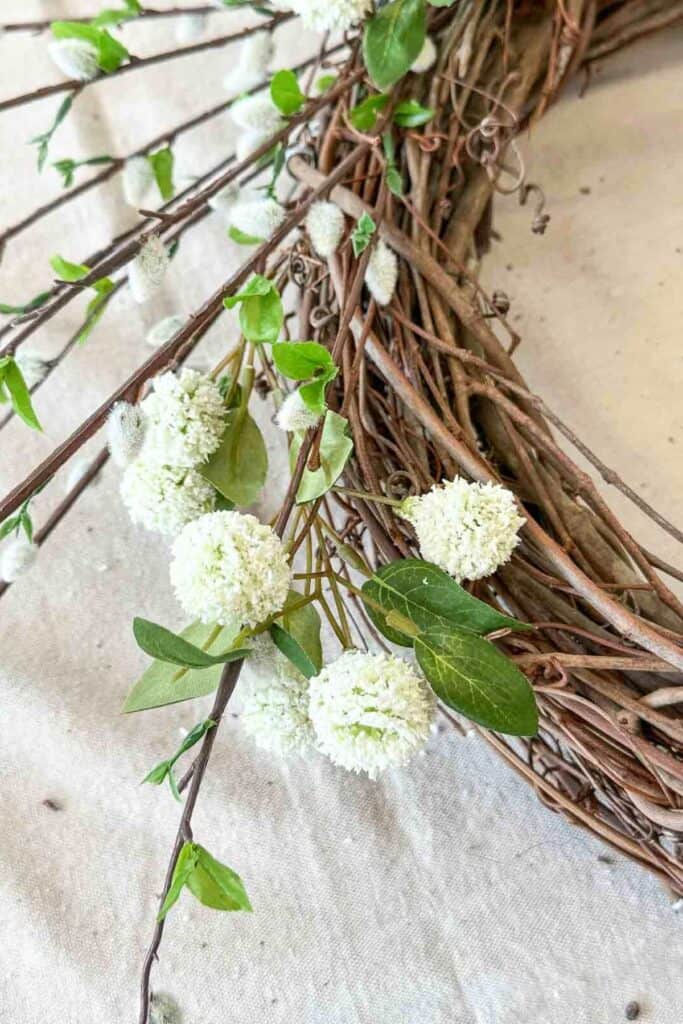
Tuck the textured flowers along the top of the wreath. Some in front of the pussy willos and others in back until you like how it looks.
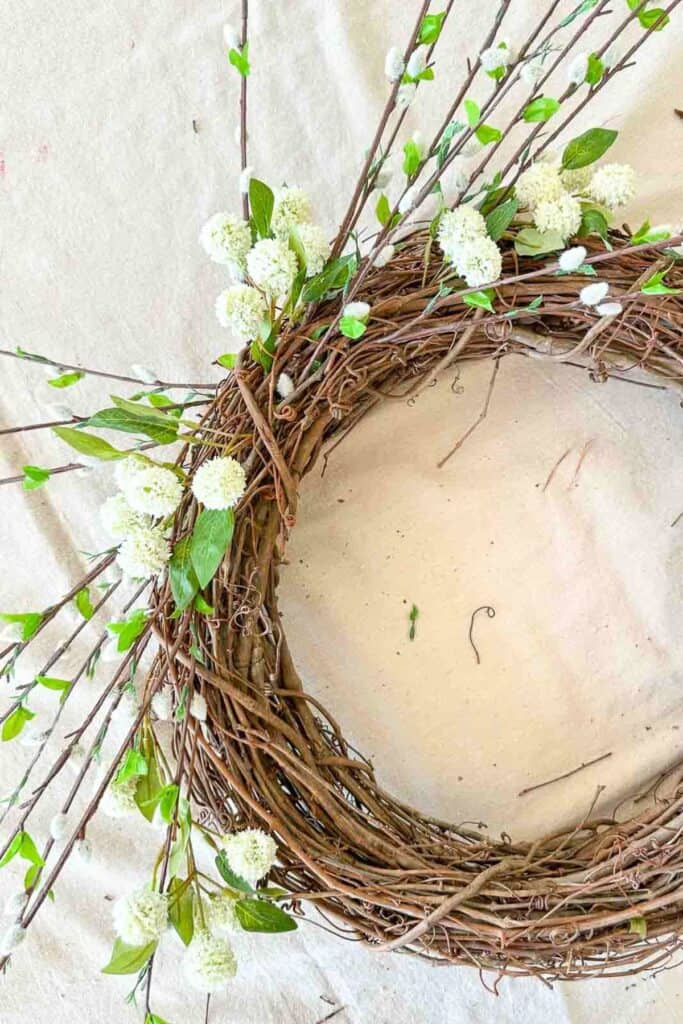
Adding A Small Nest And Moss
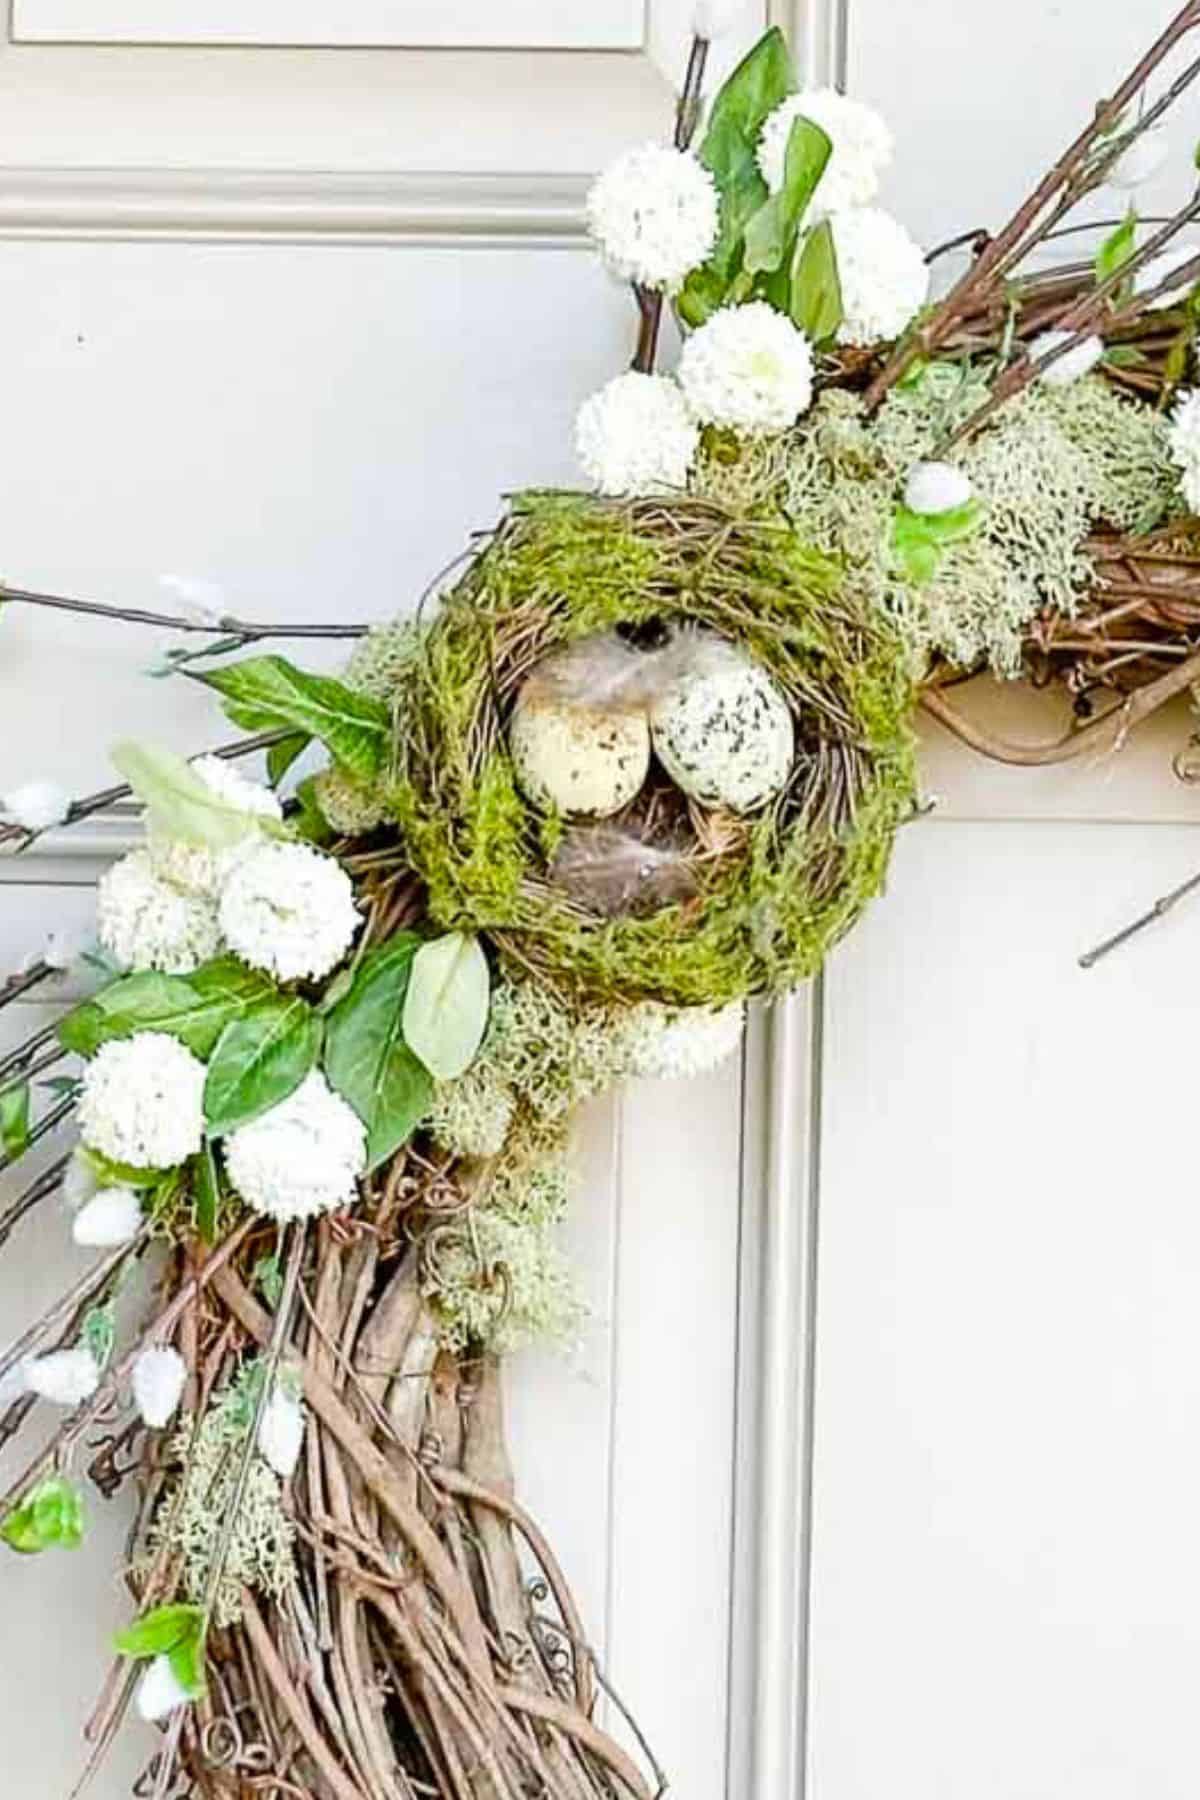
The last items to put on this wreath are a small nest and some moss. Secure it to the wreath to the middle between the left and right pussy willow branches. Then tuck a little moss around the nest and the top part of the wreath, as desired.

This simple spring wreath is an easy and affordable way to welcome the season with style. You can create a lovely, welcoming statement for your front door with just a few seasonal elements. Celebrate spring by bringing its fresh, natural beauty right to your doorstep!
For a standard front door, a wreath measuring 24-30 inches is ideal. It provides a nice visual balance without overpowering your entryway.
Choose outdoor-rated artificial florals and greenery and secure them firmly with wire or hot glue. Consider spraying your finished wreath with a UV-protective spray to help it withstand the elements.
An over-the-door wreath hook or heavy-duty adhesive hooks work great for most doors. Both options are simple, secure, and avoid holes or damage.
Other Spring Wreaths To Create

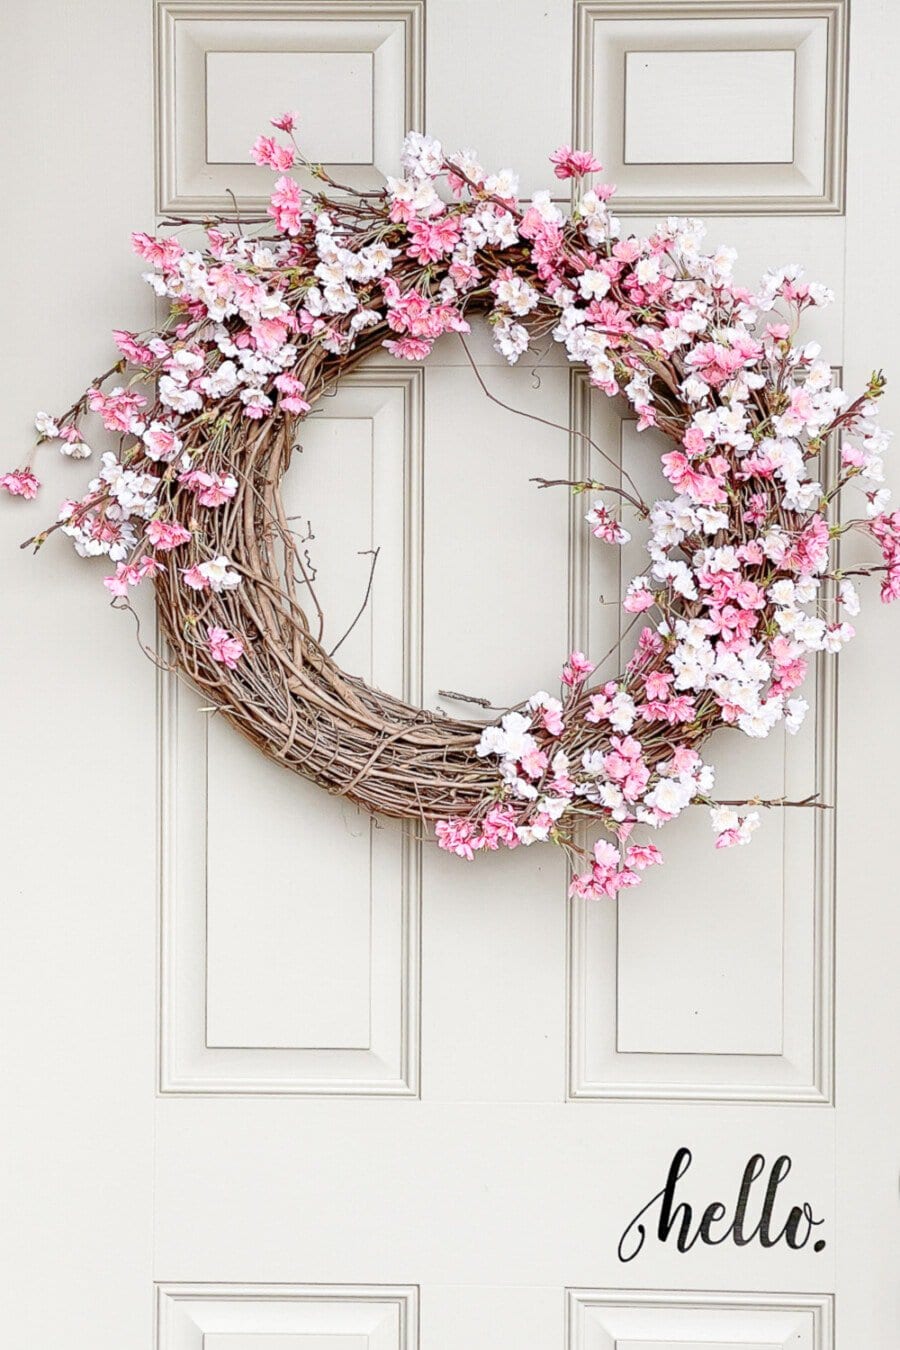

Beautiful Spring Tulip Wreath DIY

Happy spring, friends

Hi Yvonne, this is lovely…thanks for sharing!
Hi Shannon, thanks for the visit!
Well that’s a good idea! Unfortunately, we had to stop putting a wreath on our front door because somehow a bird would always make a nest in it. Which of course then led to them flying in the house! LOL! I love the idea though:)
It is the perfect touch of Spring for your front door, Yvonne! Love the pussy willows! Happy Wednesday ~
Love the pussy willow! I bought mine at the Dollar store!
Just pinned this wreath! I love pussy willows and the natural look to this wreath.
Hi Melissa!Thanks so much! I love love love my pinners!
Wow factor!Love the natural look on your front door Yvonne. Also thanks for including the steps on how to make the Spring wreath.
I love this wreath and pinned it already. Now just to go through my things and put one together.
Patty, Thank you so much for pinning! I love my pinners. Yea! I’m so glad you will be making this wreath!
I’m with you, Yvonne – I love wreaths left more natural with no bows. Now that I’m in a condo, I can’t decorate a “front” door but just this very minute realized I could prop a wreath up on my mantel! Yeah! I loved doing wreaths and made many for the changes of the Seasons.
I love this and and think I could make it myself. Are the wreaths the same size and wired one on top of the other or a smaller one wired to the inside of a bit larger one?
Hi Yvonne, simply beautiful! And I can come up with whatever I find in the garden!! Here (Rio de Janeiro, Brasil) is autumn and I might find some fallen flowers, leaves, etc.. 🙂
Thanks!
kisses ML
Love it Yvonne! I have a weird question… does it fit within your door opening when opening your door. It appears to hang over quite a bit onto your sidelights. I was curious if you’ve had issues with it hitting the sides there, and if so what was your fix.
Thanks for sharing!!
The wreath is so pretty, it looks great.
Have a great day.
I love, love, love this wreath!! I have been looking at Spring wreath’s in the store but nothing really enthused me. This is exactly what I have been thinking about. I have all the elements to make it too. Thanks always for your inspiration! 🙂
Love the bramble wreath the best! Off to the store to get my supplies needed!
Absolutely LOVE the bramble wreath! I can’t wait to get my supplies. I think this will look gorgeous against our plum colored front door. Thanks so much.
Love your work and your unique style. I am going to ” imitate” your nests and wreath. I love your use of natural elements. Thank you so much for the tutorial.
You are so welcome Fay!
Love your Spring wreaths, beautiful. Thanks for all the great decorating ideas, love you style!!!
I really love the simple beauty of the first wreath. I’m not so crafty, but I think I could make that one!
Love this wreath! I’m going to try it.
The wreath is lovely, but how do you open and shut the door?
From your picture….looks as if when you open the door the pussy willows will be too long on each end…interfering with door opening
Just a thought….Have a GREAT day! 😉
This is absolutely gorgeous. I will keep an eye out for sales on the material needed to make this fabulous wreath. Thans for sharing.
This is beeeeutiful and with your instructions so doable too!! I love crafts and will be making this for the front door, and might even make for a few friends! TY! TY!!
So glad you like it. This is one of my favorite wreaths!
I love your style of wreath’s. They very beautiful. Thank you.
Elizabeth, so nice of you to say!
Wonderful idea Yvonne! I love wreaths and hav one on almost every dorr inside and outside my house! But not such a huge on. You can imagine what I am going to do tomorrow : – )
Have a nice weekend and enjoy the soon coming spring.
Hi Yvonne.
Just wanted to tell you that I can’t wait to get an email that you have posted something new on your blog. Lovely home. I have a question however; when you put together your pussy willow wreath, did you use real pussy willows and also moss?
Thanks so much Vicky! I use faux pussy willow. You can see it here:https://rstyle.me/+9Mj93LR_s5K0UpDXjk_SvA
Yvonne, your Spring wreath is just beautiful! Those feathers in the nest just add to its beauty! You always do such a lovely job with your wreaths — and your DIY instructions are perfect. Have a wonderful day! Thanks for sharing.
Thank you Mary Ann! I hope you will make it for your new home’s front door.