Easy 30-Minute pretty Peony Wreath DIY
Ready to make a summer door wreath? A wreath on your front door makes a big and happy first impression to all who visit and a cheery hello to everyone who passes by! Today, let’s make a wreath, and I’ll show you a “recipe” for making one so you can make fabulous wreaths every time!
This post contains affiliate links.
A pretty wreath is the centerpiece of any front door, porch or patio! The secret is to make it big and showy and just too pretty not to be noticed!
So, today, I’m showing you a “recipe” or formula for making a standout wreath every single time!
And it’s so so easy! Ready to make a summer front door wreath?
Materials For The Wreath
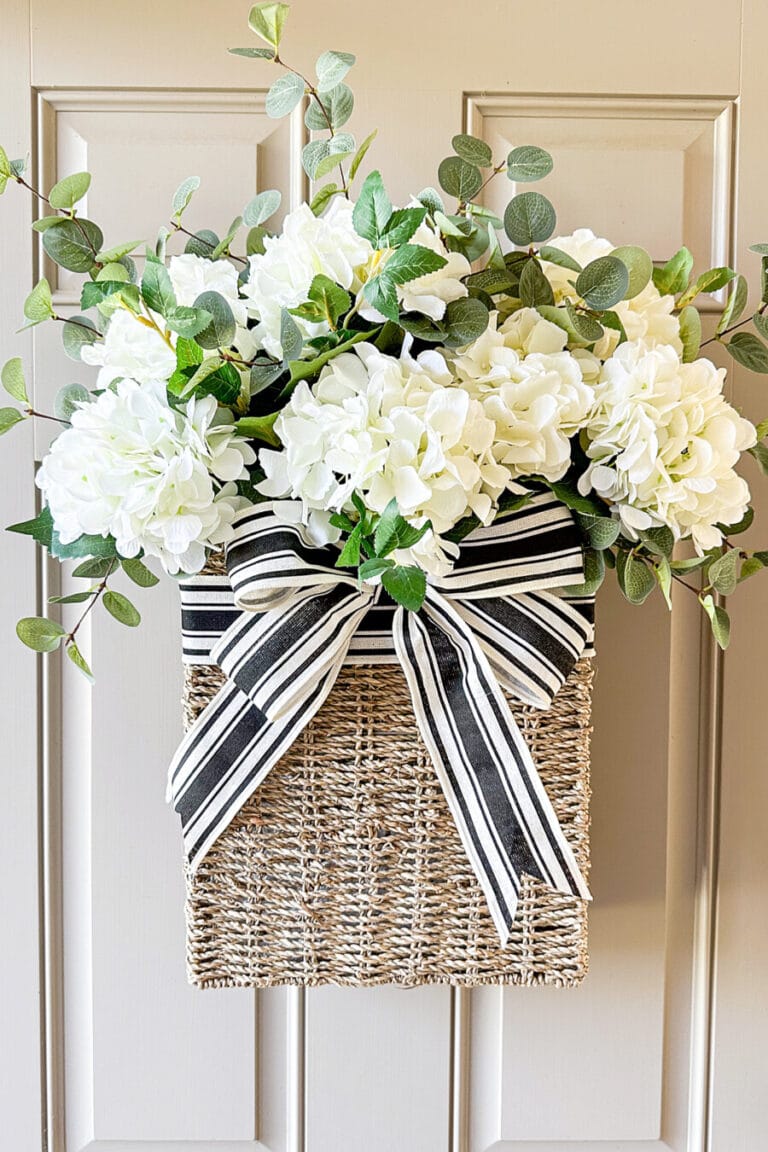
This wreath is so simple to make! I found a small bouquet of silk peonies on Etsy and did not need to add any other flowers.
It hints towards French Farmhouse appeal but not so much that it cannot be used with any decor.
The ribbon seems very French to me!!!
Here’s what you will need…
- 3 yards ribbon (see my black and white ribbon HERE)
- 3 large blooms, 2 medium blooms, and 1 small bloom that look nice together, 2 frilly flowers, and 3 leaf stems OR the peony bouquet I used HERE
- 2 grapevine wreaths (see my grapevine wreaths HERE and HERE
- zip ties, optional (see them HERE)
- white pipe cleaners, optional (see them HERE)
Other things you will need…
Making The Wreath
STEP 1-A Desiger’s Wreath
I once asked the owner of an interior design firm what her secret was for making her iconic and beautiful wreaths, and she said…
“DOUBLE THE WREATHS“
At first, I thought she was saying that to avoid giving away her secret. Could it really be that simple?
Well, she gave me the best tip for making a wreath I have ever received, and now I am sharing it with you!
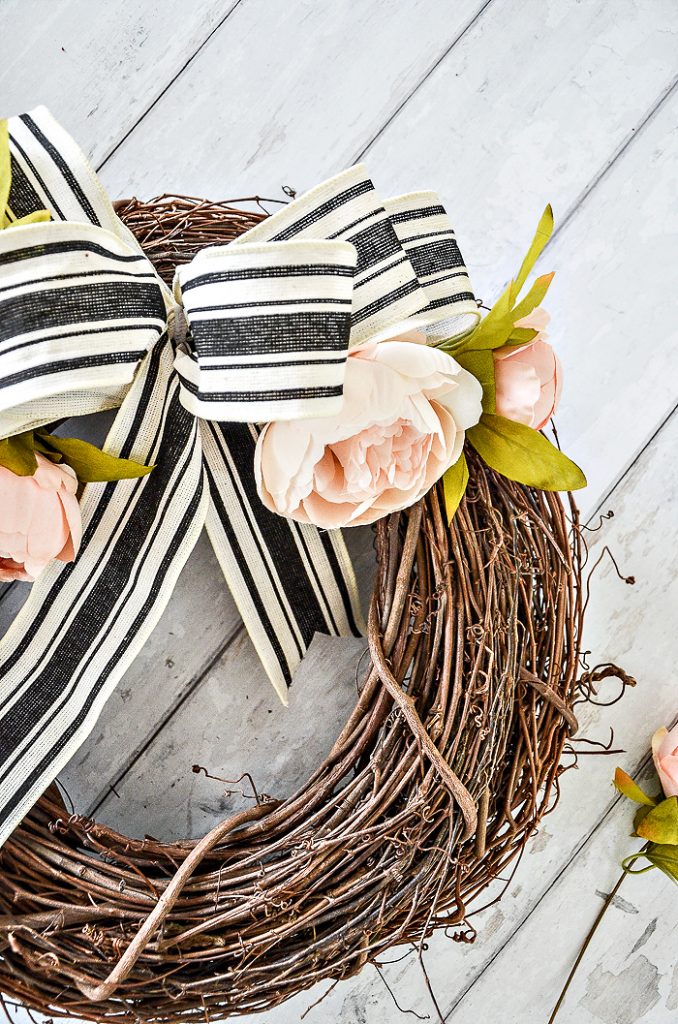
Double your wreaths! Double grapevine and evergreen, and even boxwood. To go a designer step further, the top wreath should be a couple inches smaller than the bottom wreath. This gives depth, visual weight, and an expensive look to any wreath you make!
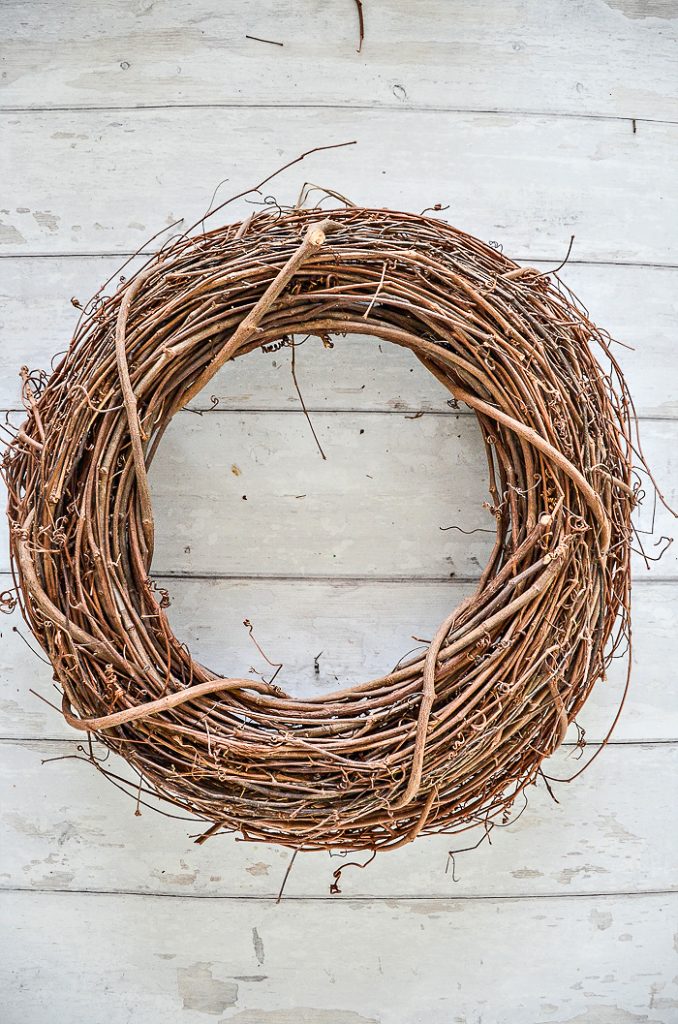
So, start by connecting two wreaths. For this creation, I’m using grapevine wreaths.
Zip-tie them together with clear, long zip tips. I start by putting the smaller wreath centered on top of the larger one, then turn them over and zip-tie them from the back, as shown below.
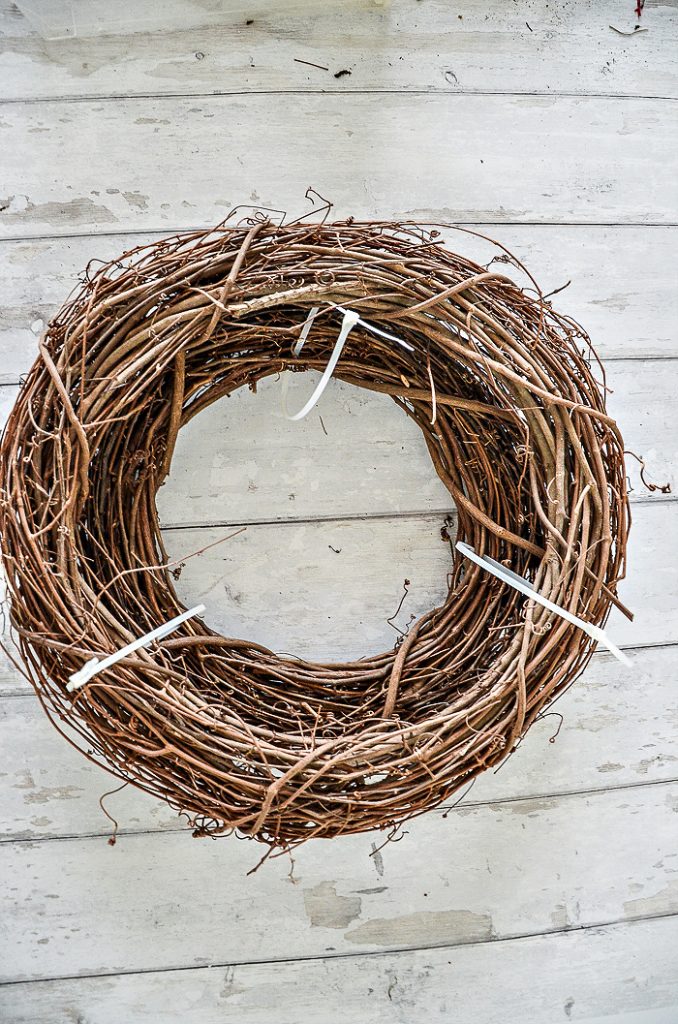
Keep the zip ties loose until you re-center the top wreath, then tighten the zip ties and cut off the excess.
Flowers You Need…
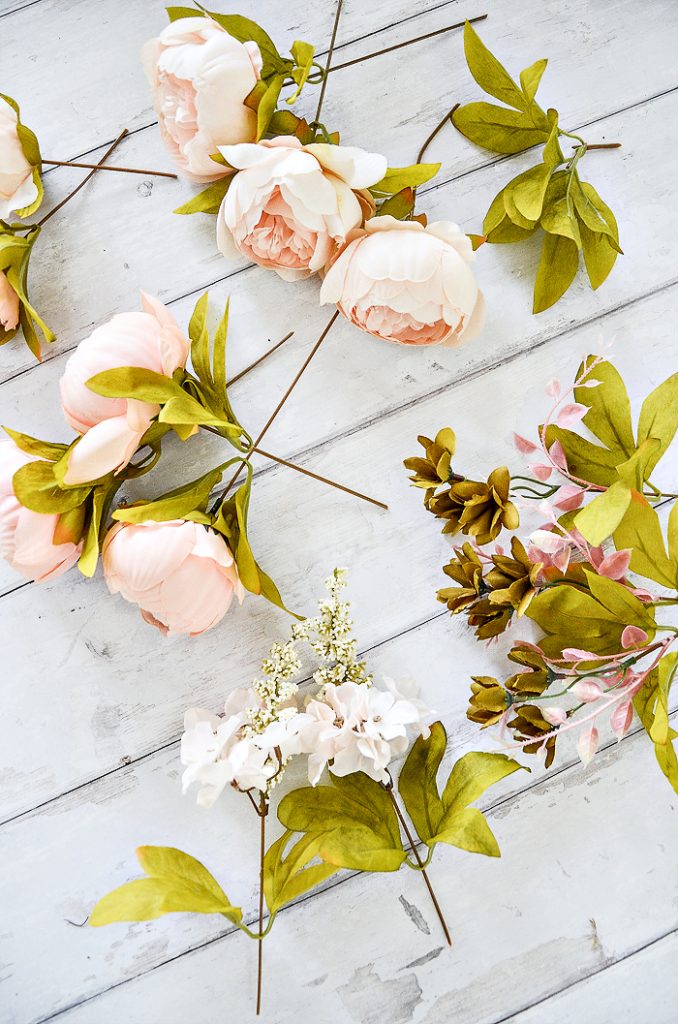
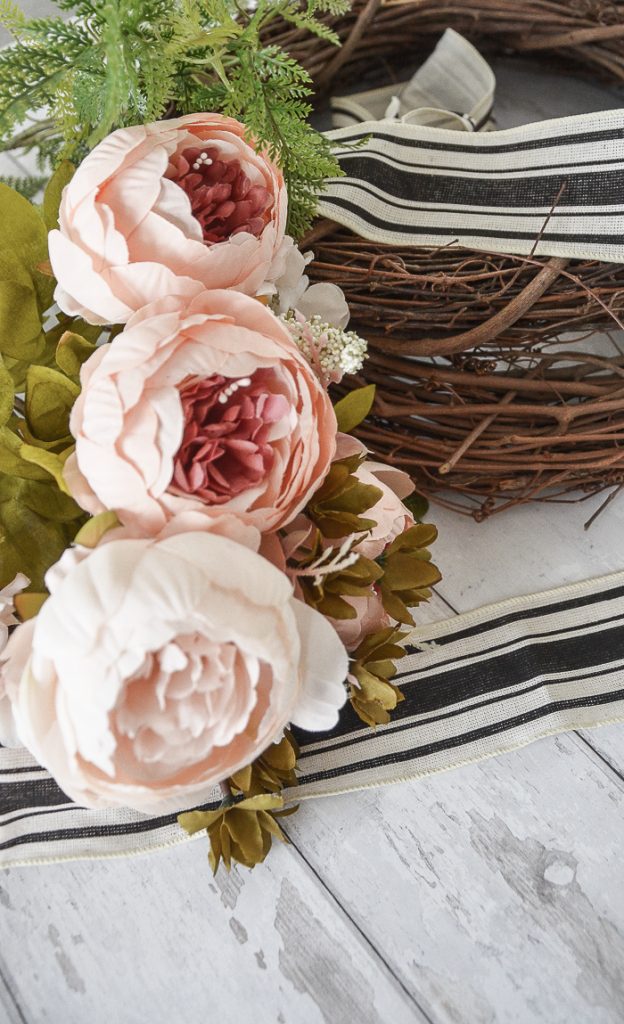
I foraged in my basement for the things to make this wreath. Luckily, I found a very pretty and very reasonably priced bouquet of peonies I had ordered from Etsy last year. They are really stunning!
It almost broke my heart to cut it apart! But the flowers were perfect for this wreath! I cut the wires as long as I could so I could poke them deep into the wreath.
I actually ended up with a couple extra peonies that I’ll use in a vase for summer. These peonies look so realistic!
Here are some pretty floral options for a summer wreath…

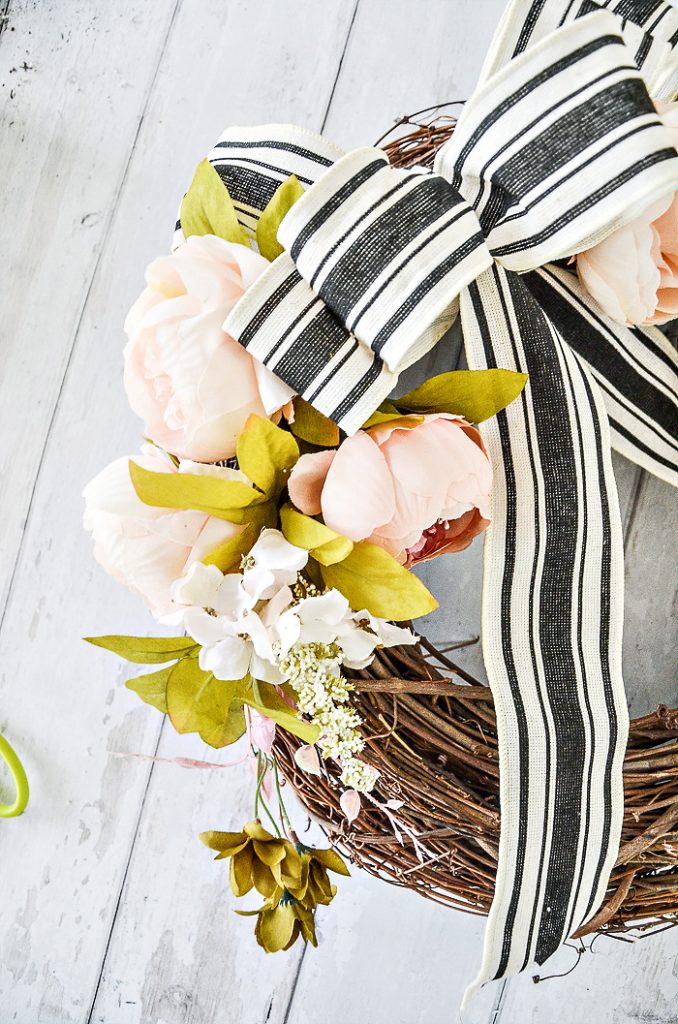
STEP 2-Making A Bow
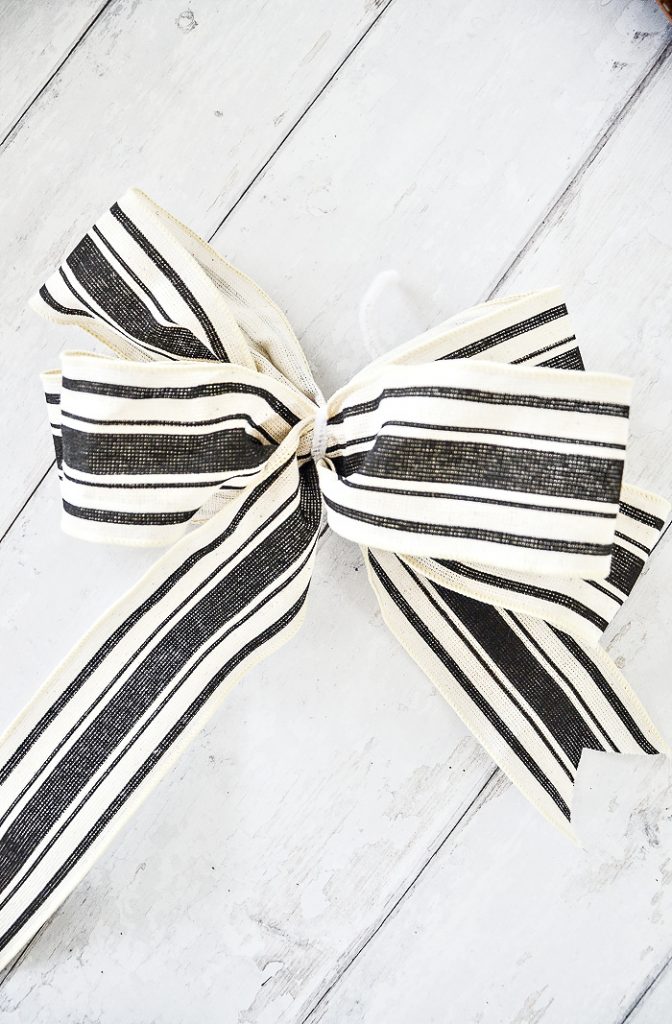
Make a 6-loop bow and leave enough ribbon to make a tail on either end.
I already had the cut ribbon from another project, and it was the perfect length for the wreath. The right ribbon tail is shorter than the left to work with the design of the wreath.
My favorite thing to use to hold things like bows together is a pipe cleaner. They really work so well and will not ruin ribbon like wire often does.
Now, it’s time to determine the top of the wreath. Here are a few things to consider…
- is your wreath totally round
- how much of the wreath will the embellishments cover
- are there any pretty parts of the wreath you don’t want to hide
- is there something not so attractive on the wreath you want to hide
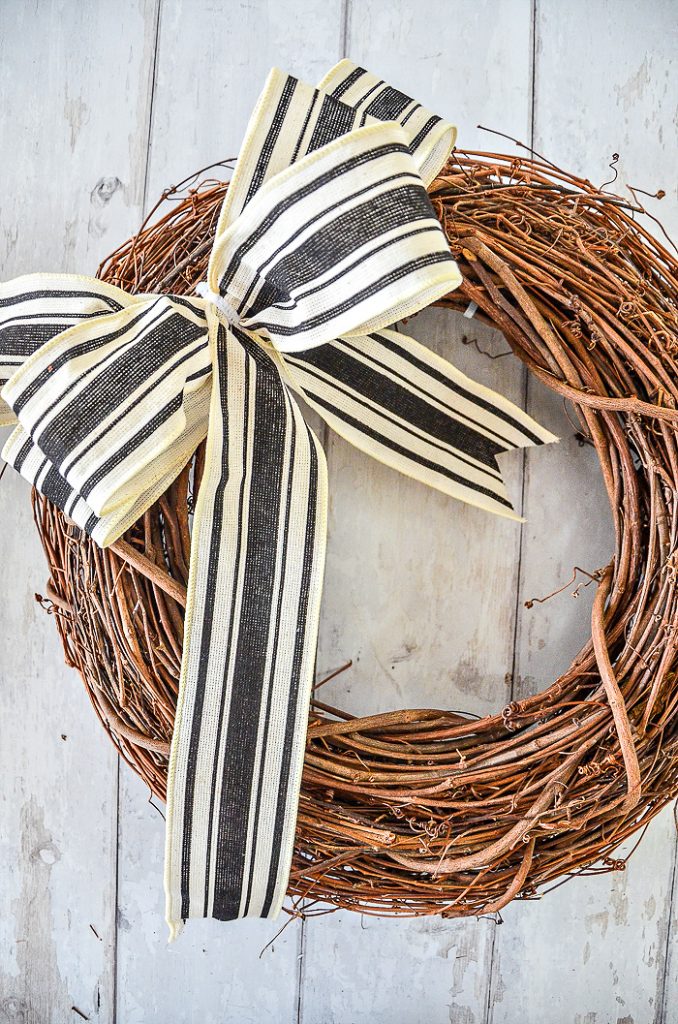
Once you know the top of the wreath, it is time to add the bow!
Use the ends of the pipe cleaners to fasten the bow onto the wreath at about 10:00.
STEP 3- First Flowers
Arrange all the flowers on a wreath before you hot glue them! This is so important.
And here are a few more tips to make your wreath the prettiest it can be…
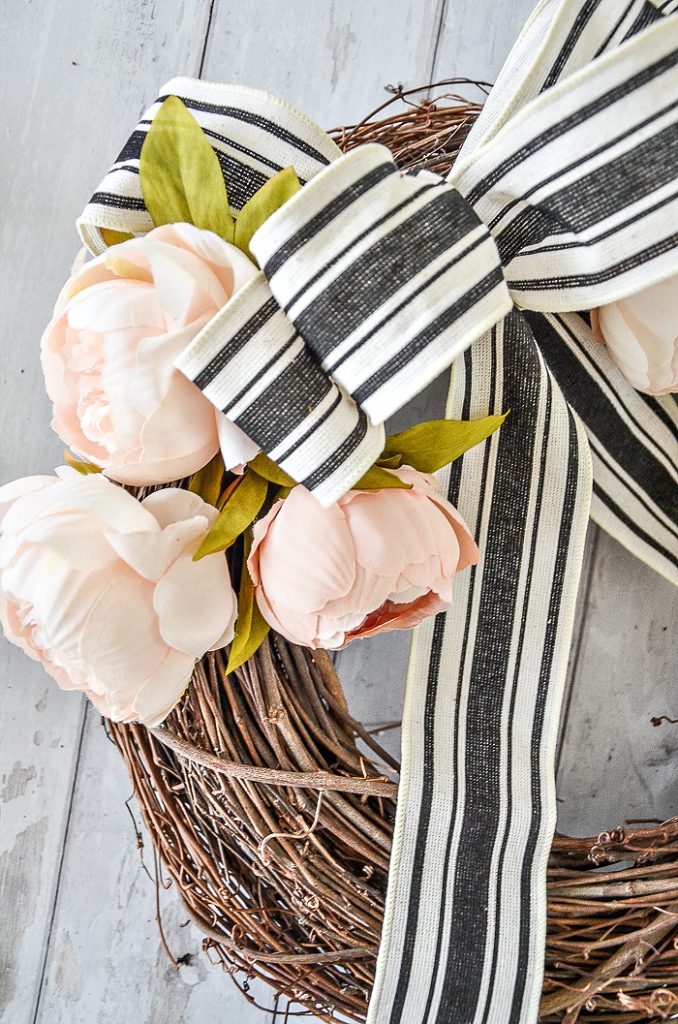
- “Fluff” your flowers. I opened up some of my peonies, and I repositioned them by bending the wire connected to them. This makes them more lifelike.
- Make sure each flower faces slightly differently than the one next to it. If all the flowers on a wreath face the same way, it can be a bit boring!
- If a flower looks tired or worn, pass it up!
I have an easy recipe for creating a beautiful wreath I use all the time! And today is the first time I am sharing it with you!
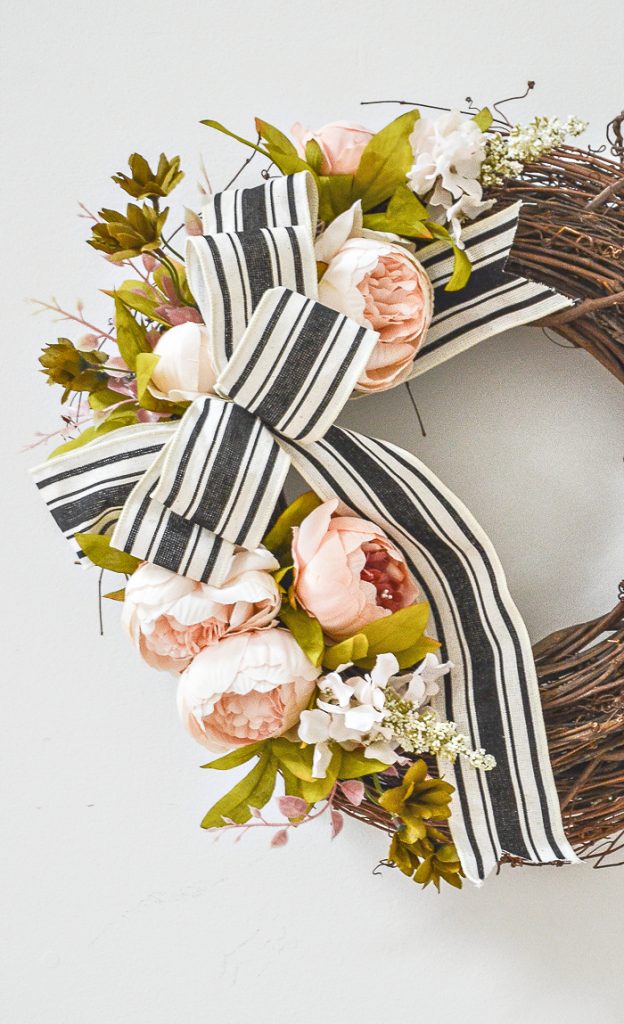
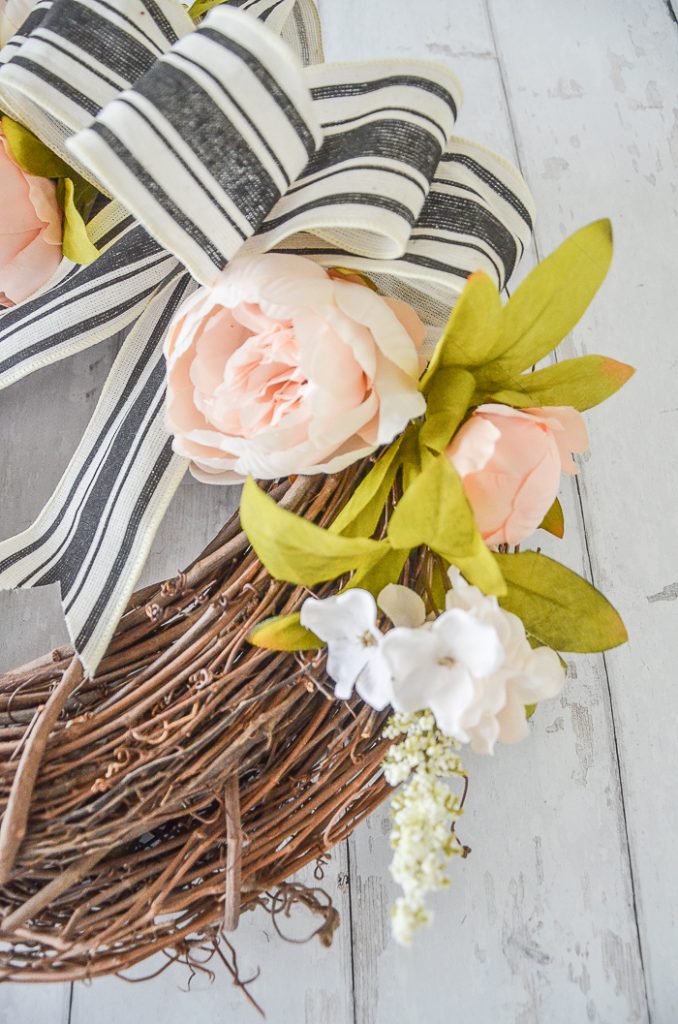
Start by placing two LARGE flowers on the left side of the bow as shown…
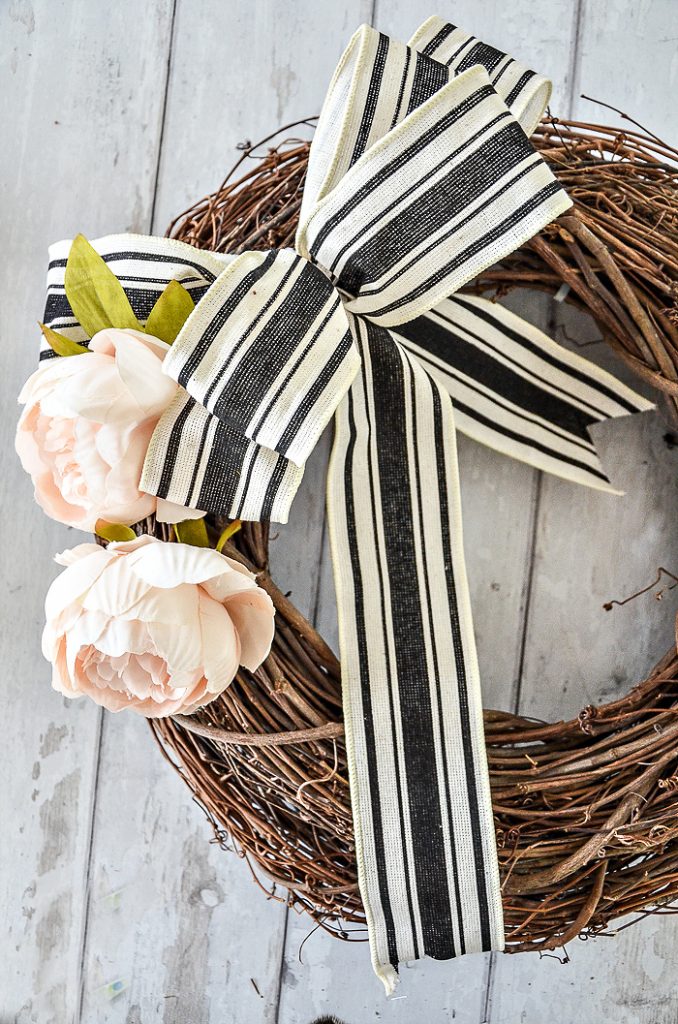
Keep them in the center of the wreath. One tip that really helps your flowers stand out is to bend the wire at the base of them so some of them almost face forward.
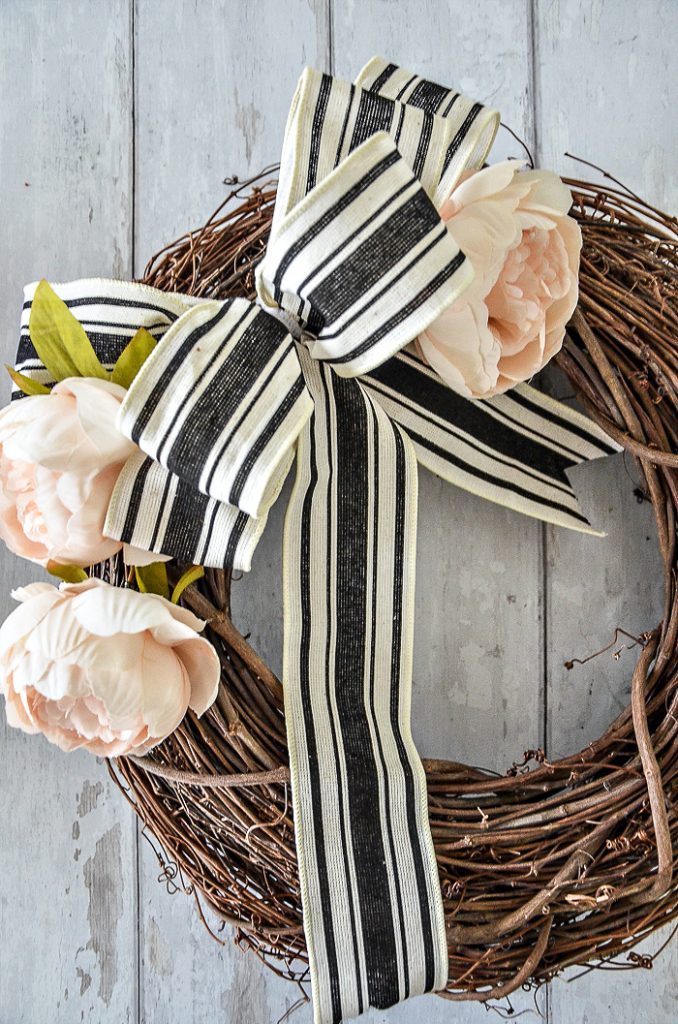
Next, place another large flower on the right side of the wreath, pointing slightly down, as shown. Keep it snuggling up against the bow.
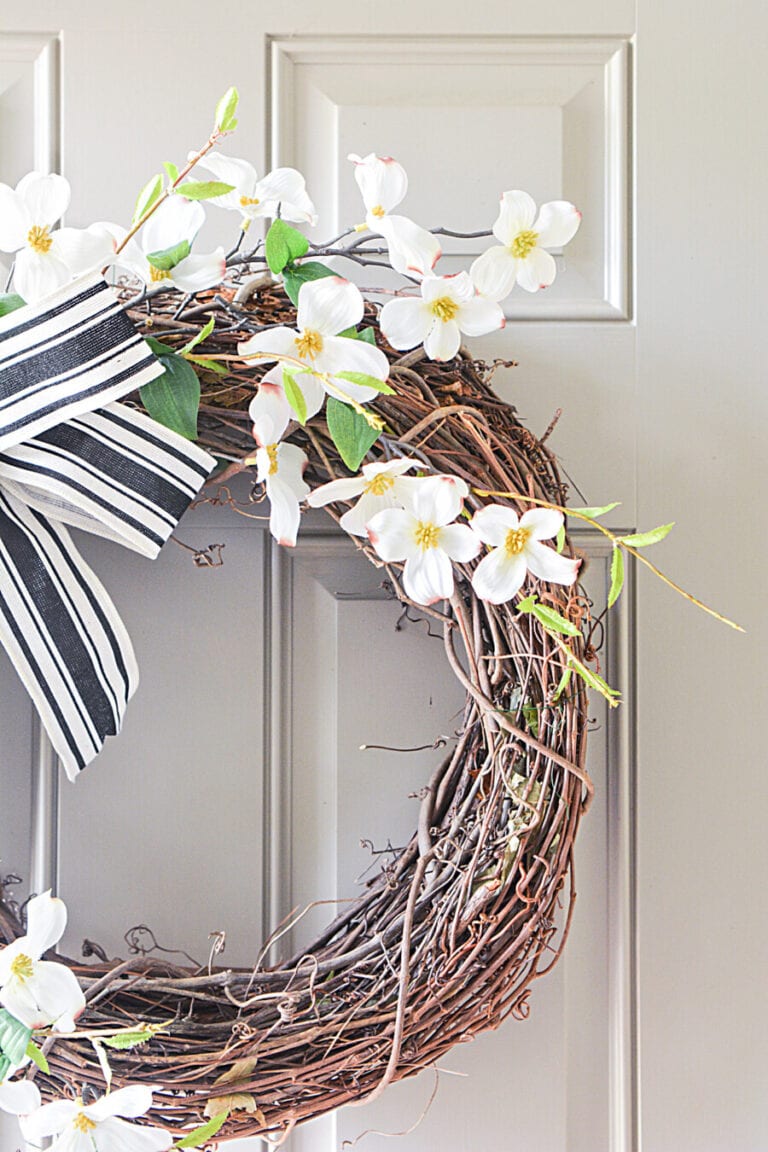
I really love these pretty blush-colored peonies. Their stems have lovely leaves. If you choose blooms without leaves, just find complementary leaves and add them to fill in any spaces at the very end.
STEP 4- Add More Flowers
Add a medium-sized flower between the two large flowers on the left side of the wreath. Face it down and inward.
Add a small flower to the right side of the wreath slightly above the big bloom and facing up.
STEP 5- More Flowers
Next, let’s add airy-looking flowers like the one above. Add it to the left side of the wreath in between the second and third flowers. Position these “frilly” looking flowers in the middle of the wreath, as shown.
Arrange another frilly bloom between the two flowers on the right side of the wreath. I let this bloom stick straight out from the wreath.
STEP 6- Final Touches
Adding the finishing touches is what step five is all about!
Add the last smallest flower to the top of the wreath, above the middle of the bow, and add leaves or a few more frilly flowers.
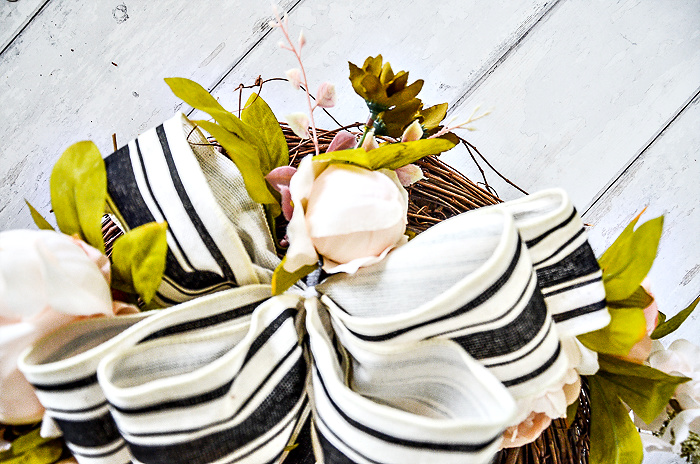
Fill in any whole or spaces with leaves or berries.

STEP 7- Last Steps
Take a good look at the wreath. Adjust until you are happy with it, and then glue the base of the flowers.
When the glue is dry, melt away all those hot glue spiders with a hair dryer on the warm setting. They will just disappear! Great tip, right?

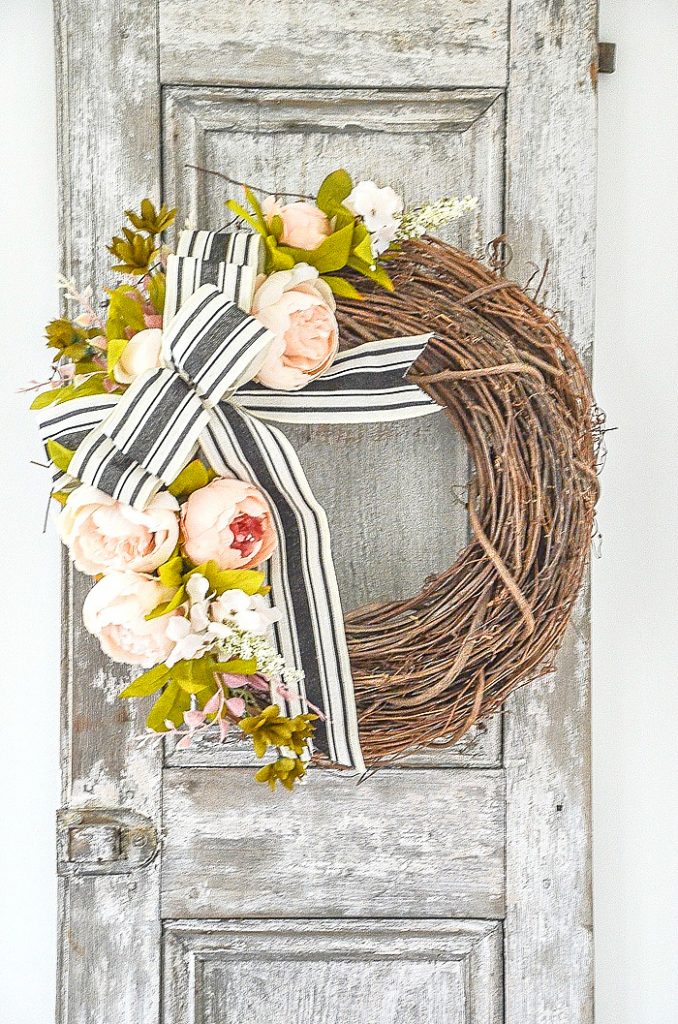
Hang Your Wreath
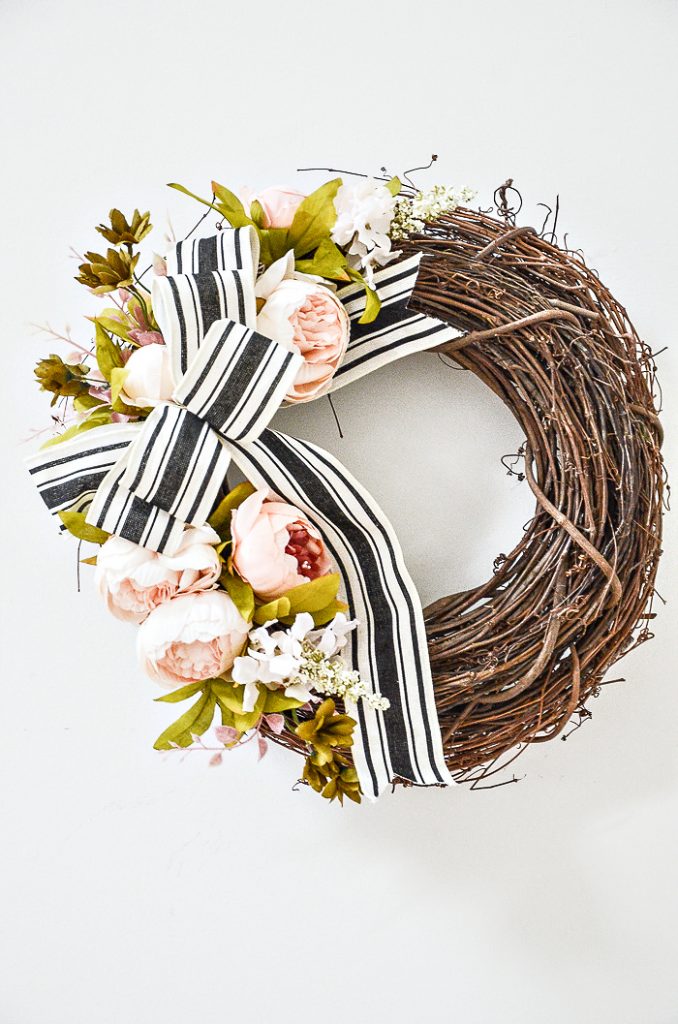
That’s it! See how easy it is to create a beautiful wreath?
You can now make a beautiful front door wreath for any season or holiday!
FAQs About Making Wreaths
More Summer Wreaths
Enjoy creating these easy-to-make summer door decorations for your home.

Happy summer wreath-making.


Such great tips and such a lovely wreath! Peonies are my favorite flowers! At least with the faux version, they last longer, too:) I’m definitely trying the doubled up wreath next time I make a new one.
Doubling a wreath makes such a difference!
Love these tips. I would love to have the cheat sheet for reference, but can’t find the link to print it.
I’m sorry, Esther. I’m having trouble with the link. I’ll fix it and add it later.
Thank you for taking us through this step by step. I’ve pinned this post. I can’t open the printable though.
I love my pinners. Let me take a look at the printable and fix the link. Thanks for letting me know!
where is the printable link please?
thanks!
Sorry, about the printable. I’m having a bit of technical issues. Check back later! Thanks!
Thank you for your recipe. Your blog is a favorite and this is such a pretty wreath! Happy Sunday to you!
Thanks, Jan! How sweet of you!
Yvonne what a beautiful wreath you made. It would look beautiful on my front door. If you go outside and it’s gone it came to my housE
Hi Cindy, how sweet! Okay, we could do a swap! I love EVERYTHING about your beautiful home!
This is a beautiful wreath!! I absolutely love the ribbon!
Thanks, Michelle!
What a gorgeous wreath! I love everything about it and absolutely love the ribbon that looks like vintage ticking <3
Thanks, Lisa! That’s what I think too!
Yvonne you always have such beautiful posts??♀️ I’d luv to invite you to join and share with us over at Charming Homes and Gardens Wednesday – Sundays Link Party??♀️ https://www.dabblinganddecorating.com/single-post/2020/03/31/Charming-Homes-Gardens-Wednesday-Link-Party
Yvonne I just love your blog. I can always spot your photos and this is no exception. Thanks so much for sharing. I can’t wait to get some of this black & white ribbon. I can’t wait to try this.
Wonderful! I’ll be using that ribbon again on a pillow and on another front door basket.
Your wreathe is lovely, your tips are great, and the tutorial is well done! What else needs to be said!
Nothing but, thank you!
I love this tutorial…so many good tips and tricks and the end result is gorgeous!!! Thanks for sharing.
I hope you will try the wreath!
The pink peonies are just perfect. I think they are my favorite flower now. Pink is a favorite color for me also. I am looking forward to making a lovely spring wreath now. Thank you for your inspiration. Jean
I love hanging it on my door. I’m sure you will too.
Yvonne, this peonies wreath is so beautiful. I just had to make one.
I clicked on the link to an ETSY shop (Rumor Flowers – Justin) and placed an order on 4/22. So far no flowers. No tracking number for USPS. Contacted Justin, who blames USPS and says they should arrive very soon. Etsy reviews show this pattern of poor customer service.
Yvonne, I thought you would want to know.
Hum! Thanks!
Hi Yvonne,
I really enjoyed this post and the one on making a basket for the door. Do you have any detailed tutorials on bow making?
I don’t. Sorry! I think I’ll add it soon.
Thanks, Yvonne, for your tips and great instructions on making this beautiful peony wreath. Every wreath you make is so pretty! I always enjoy seeing your DIY’s.
Thanks so much Mary Ann. I love making wreaths. They are fun to hang on my front door at the beginning of each season. Happy almost summer.