Dress Up Your Front Door: Simple Summer Hydrangea Wreath DIY
Create a beautiful faux hydrangea wreath DIY for your front door this summer! This easy-to-make project adds a touch of seasonal beauty and welcoming charm to your home. Follow our simple steps and enjoy crafting your own beautiful summer wreath.

What is your favorite summer flower? For me, that’s like asking who my favorite child or grandchild is. But there’s something undeniably special about hydrangeas! If I had to choose, they would be my pick. How about you?
We have 14 hydrangea plants around our home, representing five varieties of these mop-headed shrubs. They grace us with voluminous blooms throughout the summer and fall seasons. To continue the hydrangea theme, I decided to make a big, full hydrangea wreath for our front door.
Creating a summer hydrangea wreath is a delightful way to bring a touch of seasonal beauty to your front door. These beautiful flowers, with their wide range of colors, are quintessentially summer and add a welcoming charm to your home. Making your own hydrangea wreath is not only a fun and creative project but also a great way to personalize your decor with the natural beauty of these stunning blooms.
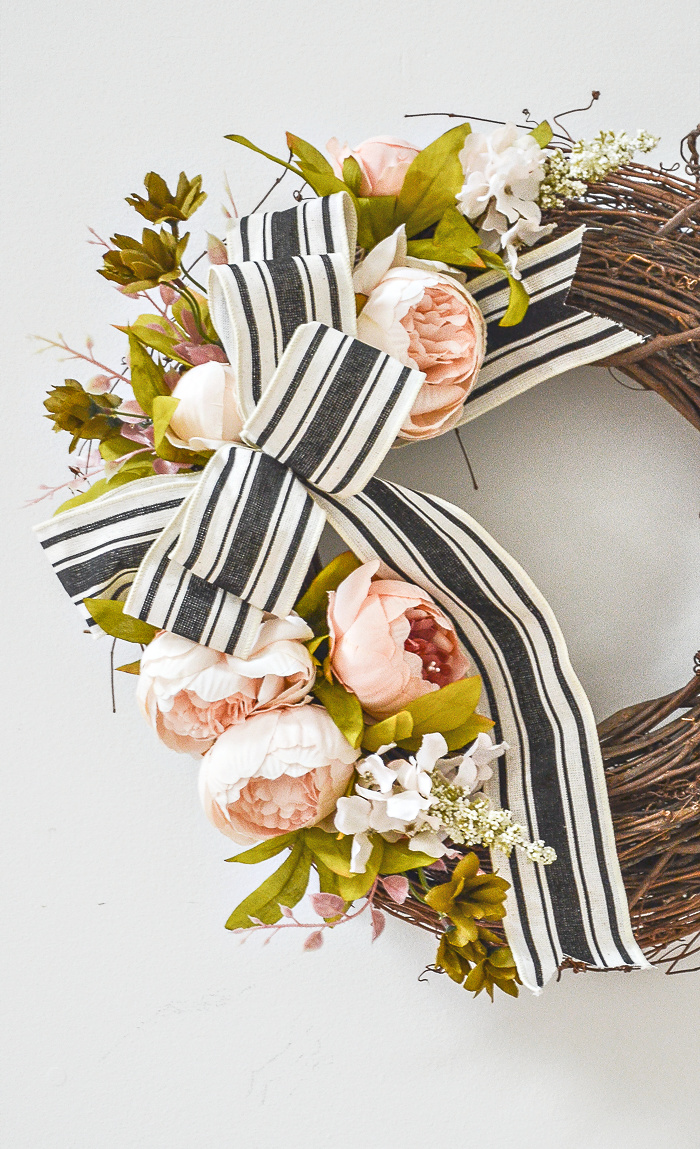
This is not the first time hydrangeas have graced our front door. One of my most popular and so easy door decorations is this Hydrangea Front Door Wreath.

Today’s hydrangea wreath is full and fluffy, showing off the flowers’ special charm. Making this summer wreath is not rocket science, and you don’t even need to be crafty!
Why Make This Wreath
- Seasonal Beauty: Hydrangeas epitomize summer with their large blooms, bringing a touch of the season to your home.
- Personal Touch: Making your own wreath allows you to personalize your decor with hydrangea colors that work with your decor.
- A Cheery Welcome: A hydrangea wreath on your front door creates an inviting and cheerful entrance for family and guests.
- Easy to Create: With a few simple materials and steps, this project is so easy anyone can make it.
- Cost-Effective: When done with the wreath it can be dismantled and the parts used again.
Creative Expression: Crafting a wreath is a fun and relaxing way to express your creativity.
Tips For Success

This wreath is incredibly easy to make. Here are a few helpful tips to ensure your project is even simpler and more successful.
- Choose Lifelike Faux Hydrangeas: Select realistic faux hydrangeas for a natural and authentic look.
- Double The Grapevine Wreath Base: Make sure to use two grapevine wreaths fastened together for a strong base.
- Secure Attachment: Use hot glue to firmly attach each hydrangea bloom to the wreath base so they stay in place. We don’t want any hydrangeas blowing off the wreath on a windy day.
- Incorporate Greenery: Add faux greenery or filler flowers to enhance texture and depth, making the wreath look more natural.
- Trim Stems and Leaves: Trim any excess stems and leaves to avoid overcrowding and achieve a neat and polished look.
- Choose Multi-Hue Hydrangeas: Use hydrangeas in lighter and darker hues to make your wreath interesting.
- Iron Wrinkled Leaves: Wrinkled leaves can be gently ironed with a warm, dry iron. Put a leaf on a tea towel and one over it, and press gently.
- Test Before Finalizing: Arrange the flowers loosely on the wreath before gluing to get a sense of the overall design and make adjustments as needed.
Smart Idea
Pro Tip
Reusing your grapevine wreath base can save money and space. Simply remove all the decorations and keep them for future projects.
Materials You Will Need

Here’s what you will need to make this wreath. See sources at the end of the post.
- Various Faux Hydrangeas And Leaves- It’s important to choose a couple of hues of hydrangeas.
- Two Grapevine Wreaths
- Hot Glue Gun And Hot Glue
- Floral Wire/Zip Ties
- Wire Cutter or shears
- Scissors
- Ribbon
It is a good idea to work on a flat surface covered with a cloth, like a drop cloth or old tablecloth. Grapevine wreath shed, so you want something you can gather up and shake out after you are done creating this DIY project.
Create A Double Wreath Base
Years ago, I visited a designer’s shop and picked up a valuable tip. I noticed all her wreaths were made with a double grapevine base. This was my Aha! Moment in wreath-making. Using double grapevine wreaths to make the wreath frame makes a huge difference in the final look, so I make all the wreaths with double bases.
The image below shows where to snuggly wire or zip-tie the wreaths together.

Using a grapevine wreath is so much easier and more attractive than using a wire wreath. Grapevine wreaths give our project depth and heft. The grapevine is natural and looks so nice with the hydrangeas. And you don’t have to worry about wiring the hydrangeas on the grapevine wreath. So easy!

Adding Hydrangeas

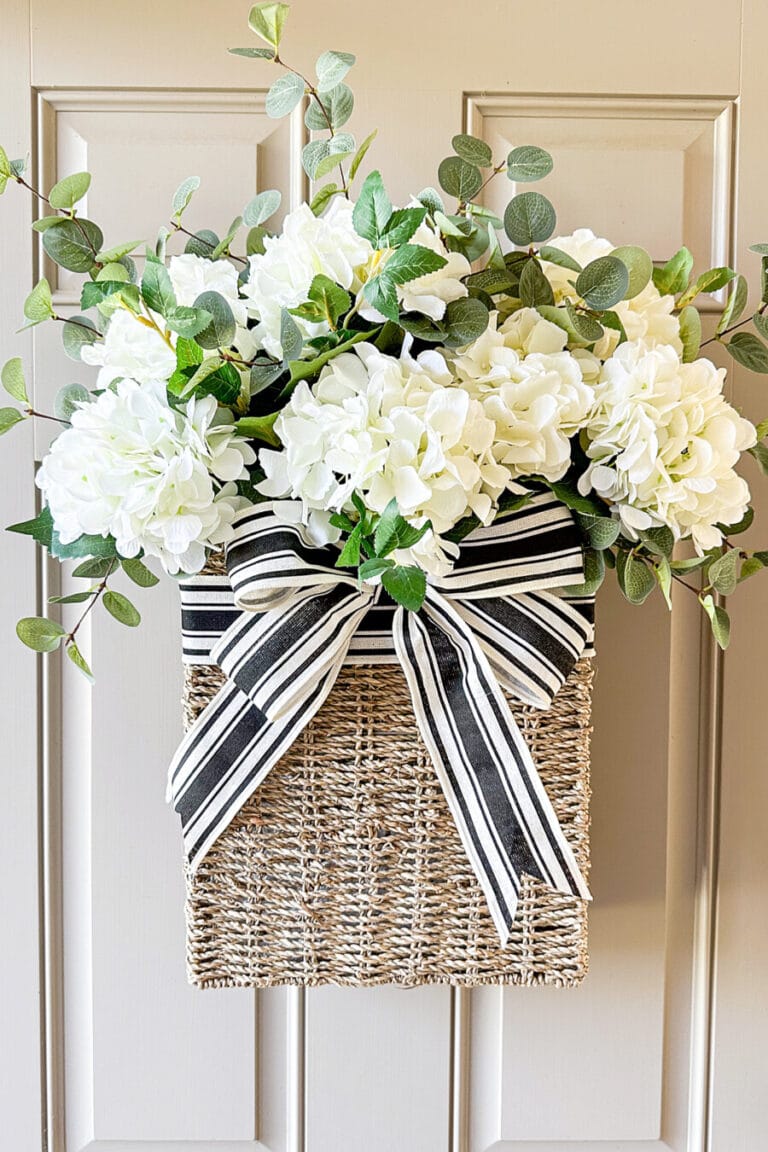
I chose two different hues (colors) of hydrangea blooms to make this DIY hydrangea wreath because using just one color would make the hydrangea look flat. One hydrangea is pure white and one is white with a bit of yellow. They both remind me of my favorite limelight hydrangeas when they first bloom. There are so many stunning varieties of hydrangeas and hydrangea colors to choose from. Pick a color that works with your front door.
I cut the long hydrangea stems into more manageable lengths so they could be pushed into the grapevine to help secure them. I also trimmed some of the leaves from each of the hydrangea flowers. I like the look of leaves on this DIY wreath but in a limited amount.
Add the faux hydrangeas around the wreath’s face, orienting them in different directions. Secure them to the wreath liberally using hot glue. Then, go back and fill in any places on the wreath with more faux hydrangea blooms to make it look lush and full.

Things To Do Before You Hang Up Your Wreath

- Shake the Wreath: Shake the wreath vigorously to ensure all the hydrangeas and other decorations are securely attached.
- Remove Hot Glue Spider Webs: Blow your wreath with a hair dryer on a low, warm setting to remove any hot glue strings.
- Inspect for Loose Parts: Check for any loose flowers, greenery, or embellishments and re-secure them with hot glue if necessary.
- Fluff the Flowers and Greenery: Adjust and fluff the faux hydrangeas and greenery to create a full and balanced look.
- Check the Balance: Make sure the wreath hangs evenly and adjust if necessary to avoid a lopsided appearance.
- Test the Placement: Hold the wreath up to your desired location to ensure it fits well and looks good.
- Bow Placement: Ensure the bow is fluffed and straight on the wreath or hook.
- Final Touches: Make any last-minute adjustments to the arrangement of flowers and greenery for the best presentation.
Adding The Ribbon And Bow
Because the wreath is filled with fluffy hydrangea blossoms, there wasn’t any room to add a bow directly to the wreath. However, I still wanted a bow to be part of the wreath. So, I hung the wreath on a hook on our front door using a loop of ribbon and then added a bow to the hook.

First, I took a length of ribbon and looped it between the hydrangeas and around the double grapevine wreath. I secured the ribbon together with safety pins so it could hang from the hook on our front door, where I thought the wreath looked best. After adjusting it, I cut off the excess ribbon. Initially, I planned to hot glue the ends of the loop together, but since the safety pins were hidden, I decided to leave them as they were.

Then, I wired the bow directly onto the hook and fluffed it.

Hydrangea Wreath Recap
- Gather Materials: Gather materials and cover your workspace with a cloth.
- Create a Double Wreath Base: Use two grapevine wreaths secured together for a strong foundation.
- Prepare Hydrangeas: Cut long hydrangea stems and trim extra leaves from each hydrangea.
- Attach Hydrangeas: Use hot glue to firmly attach the faux hydrangeas, spacing them evenly for a full appearance.
- Check for Loose Parts: Shake the wreath to ensure all decorations are secure.
- Remove Glue Strings: Use a hair dryer on a low warm setting to remove any hot glue spider webs.
- Fluff and Arrange: Adjust the flowers and greenery to create a balanced look.
- Add Ribbon and Bow: Secure a ribbon loop to hang the wreath and add a bow to the hook for an extra pretty look.
- Final Inspection: Ensure the wreath is well-balanced and make necessary adjustments.

Creating a summer hydrangea wreath is a wonderful way to add a touch of seasonal beauty and welcoming charm to your home. Using faux hydrangeas and a few simple steps, you can craft a stunning wreath that will brighten your front door all season long. This DIY project is easy, fun, and allows for plenty of creative expression.
Now it’s your turn! Gather your materials, follow the steps, and create your own beautiful hydrangea wreath. We’d love to hear about your wreath-making experience. Share your thoughts and any questions in the comments below.
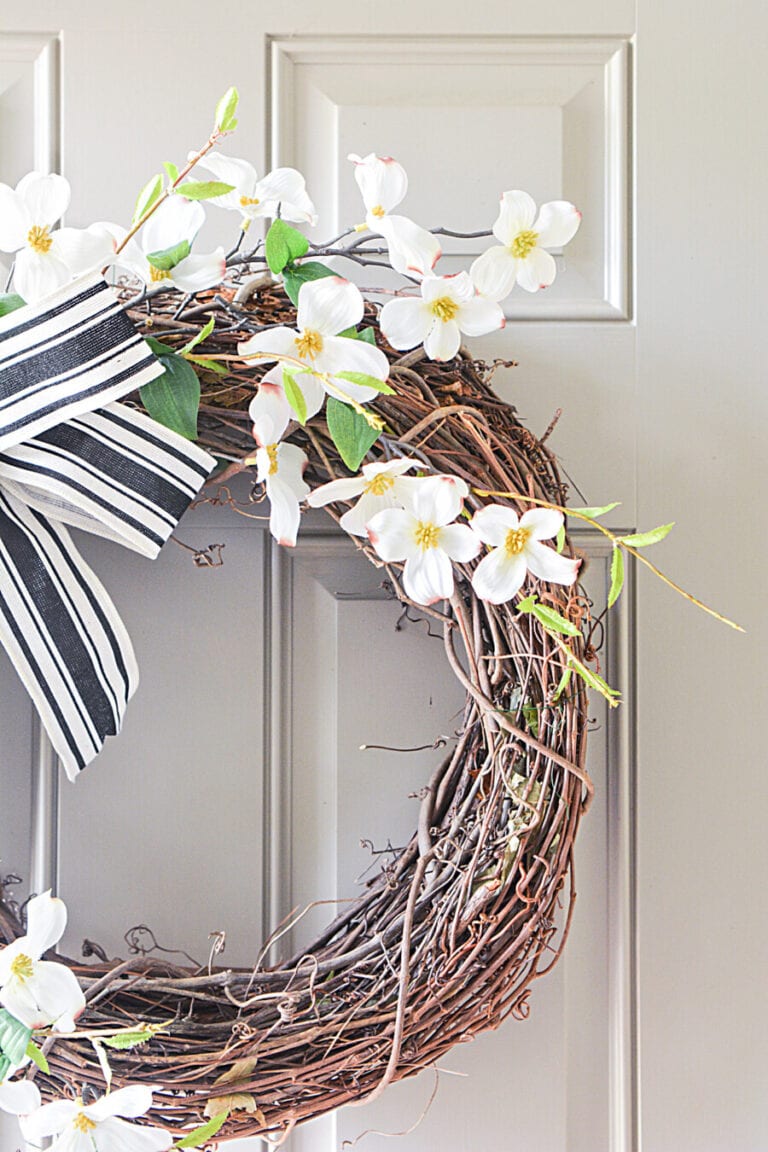
More Summer Front Door Decor
Make something charming to greet friends and family when they come to your front door.
FAQs About Hydrangea Wreath Making
Shopping


I too love hydrangeas and this wreath is beautiful. I bought beautiful light teal hydrangeas to make my wreath and now will have to go out and find some lighter or deeper ones too as you suggest. I have two questions. 1) what size grapevine wreath did you use and 2) what type of door hook did you use? I would like to find something like that but my door is metal.
The wreath is 18 inches and my husband screwed a hook into the door. Hope this is helpful.